Home -> Projects -> “Medium” Stuffed Pig
Pig
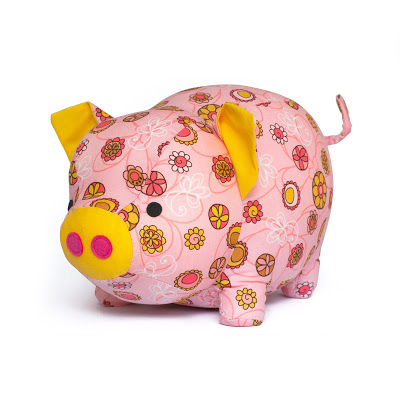
Someone else’s pig sewing pattern
I was browsing cute things on the internet, like one does, and I came across this adorable stuffed pig. My twin sister loves pigs. I had to make it. But I don’t like paying for information, and even though this sewing pattern wouldn’t break the piggy bank, it would be unlike me to purchase it if I can do without it. My style is to make my own pattern and publish it for free on the internet. Of course, I had minimal experience with sewing, zero experience with sewing stuffed animals, and zero experience making patterns. Can I make my own version of their pig?
How to make a sewing pattern?
Unfortunately, the internet has little to say about how to make sewing patterns. Most pages say “what do you mean, ‘make’, you buy them and don’t ask troublesome questions!” or “you trace a crappy 2d drawing, cut out 2 pieces of it, sew them together, and insist that you’re satisfied with the flat, un-huggable result because you don’t deserve any better” (some artistic license taken on quotes). This did not meet my needs, so I set about inventing my own way to make sewing patterns.
As far as I can tell, the way most sewing patterns are made is that someone with a lifetime of experience making dewing patterns things applies their intuition and ingenuity, together with many (many!) hours of trial and error, to create a new design. This option is not open to me, because I don’t have a lifetime of experience making sewing patterns, and I’m unwilling to make up for it with commensurate amounts of trial and error. But I do have a pretty good intuition for spacial reasoning, and access to a lot of incredible technology. Maybe technology can bridge the gap?
A number of years ago I came across a paper and video by Disney Research on designing inflatable structures. Among the paper’s citations was An interactive design system for plush toys (similar physical models are used for inflatables and stuffed animals). It would be nice to use the software from either of those research groups, but when I tried years ago I found that Disney is extremely closed source (and it didn’t help that non-Disney researchers coauthored that paper) and the other group’s software was insufficiently user friendly for me to use it effectively. These projects were a good inspiration (and I highly recommend viewing at least their videos), but not the tools I needed.
Instead, I turned to Blender, free and open source 3D modeling/simulation/animation/really-anything-you-can-think-of-doing-to-a-mesh software widely used by hobbyists and professionals alike to do, well, anything and everything. I found a video tutorial on using blender to create UV texture maps (applying an image to the surface of a 3D model to make it look realistic) and decided to apply its techniques to create a UV map of a pig. Then I would use the UV map as a sewing pattern.
Why this choice?
- Blender is FOSS (free and open source software): software and principles I believe in
- Blender’s UV mapping environment provides an excellent real time visualization of the net (i.e. sewing pattern) you’ve divided the 3D object into. This isn’t quite as good as simulating the 3D shape produced by positive internal pressure (as in Disney’s paper/software), but it’s close.
- The most important part of simulating positive internal pressure is finding high-stretch regions, and blender’s UV mapping interface does this. It doesn’t suggest what shape you would get if you sewed that pattern, but it does tell you that there would be distortion at the high stretch regions and that you should consider relieving the stress with an additional cut/dart.
Unfortunately, while I’d been aware of blender for a long time, I had almost no experience using it and had to learn from the ground up. But I took notes, and hopefully that makes for a good learning resource!
UV mapping in blender
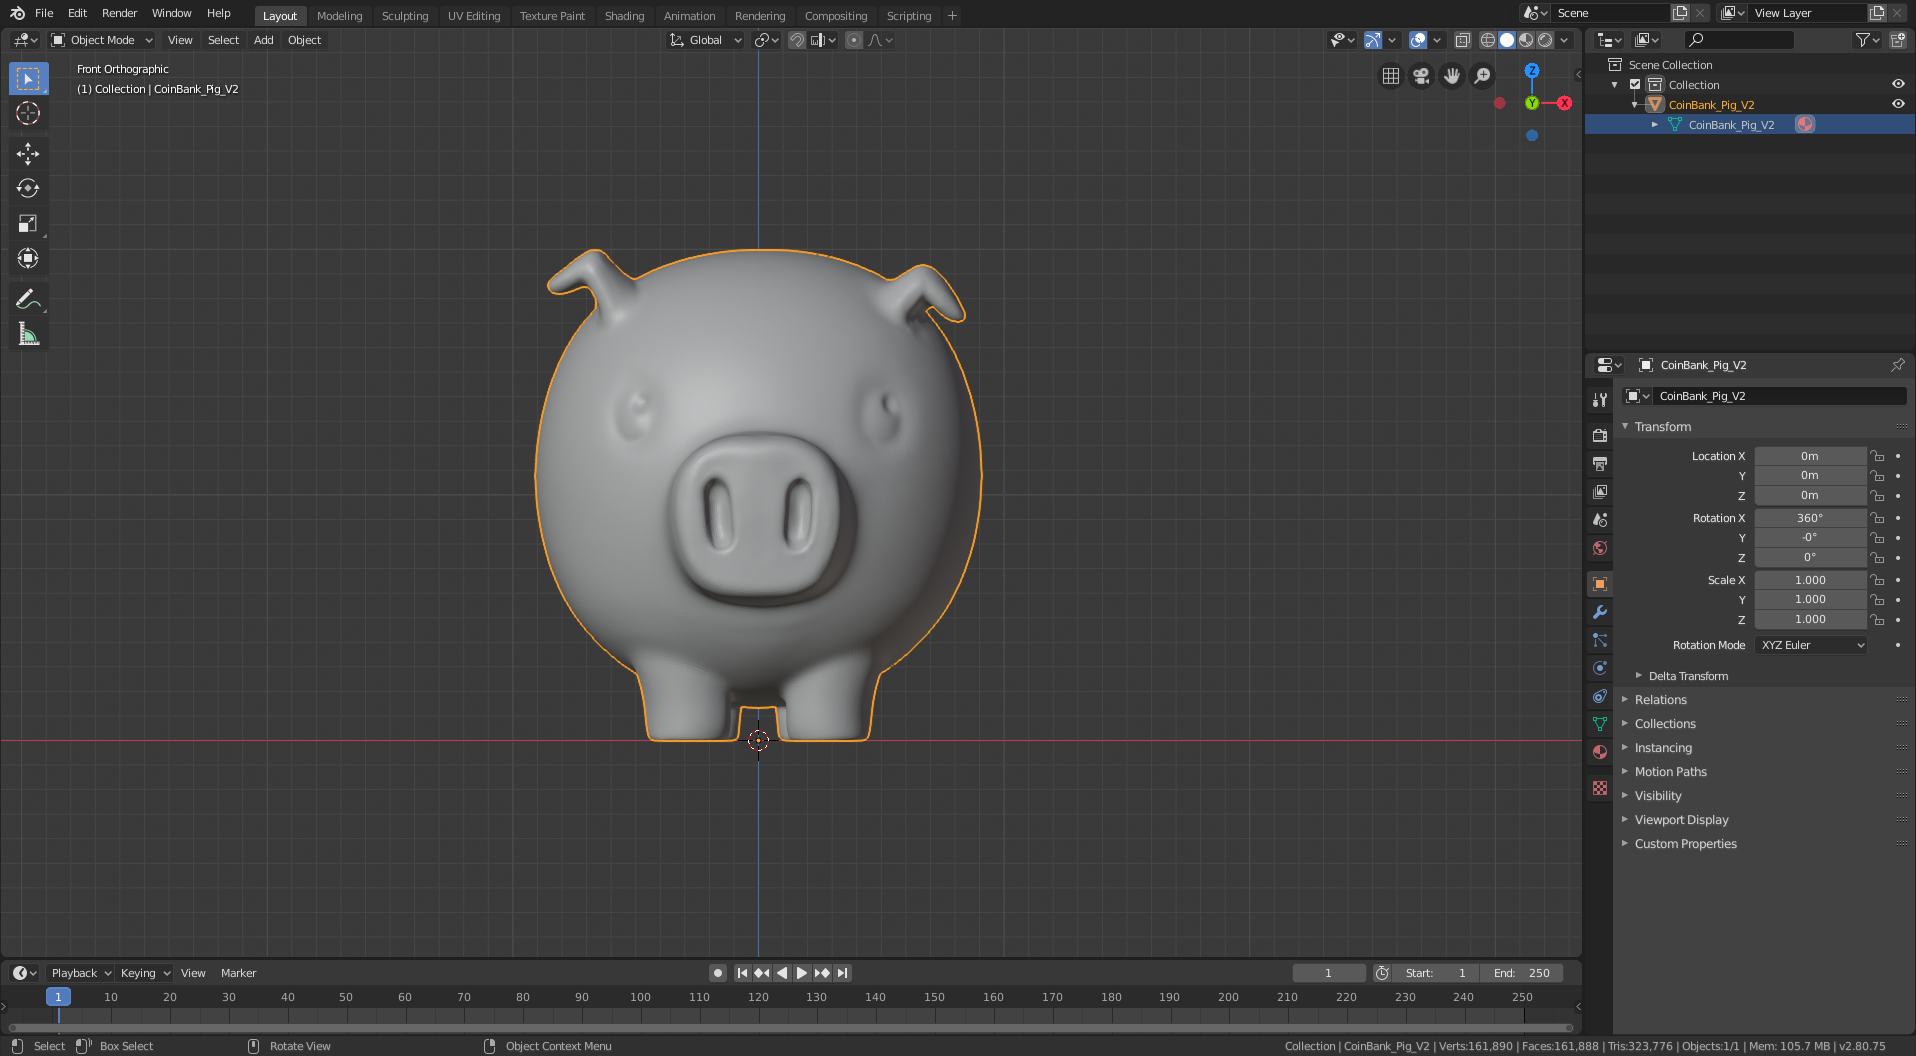
I started with this 3D model of a pig. It’s a piggy bank, so I had to do a little additional processing to remove the hole in the top (and the inner shell that gives it thickness). I also smoothed out the tail and eyes and filled in the nostril holes because I didn’t want them to stick out from the surface of the model in my sewing patterns. The remainder of the manipulation is creating cuts (yes, that’s the UV-mapping terminology – it’s borrowed from sewing!) to segment the 3D model into separate panels, each of which folds flat (i.e. can be cut from a sheet of cloth).
Blender commands (with keyboard shortcuts and command options in parentheses):
- load pig .obj (file -> import)
- rotate to view (1) and face (rx270) front
- decimate mesh (modifers -> add modifier -> decimate (collapse, 0.03)) -> apply
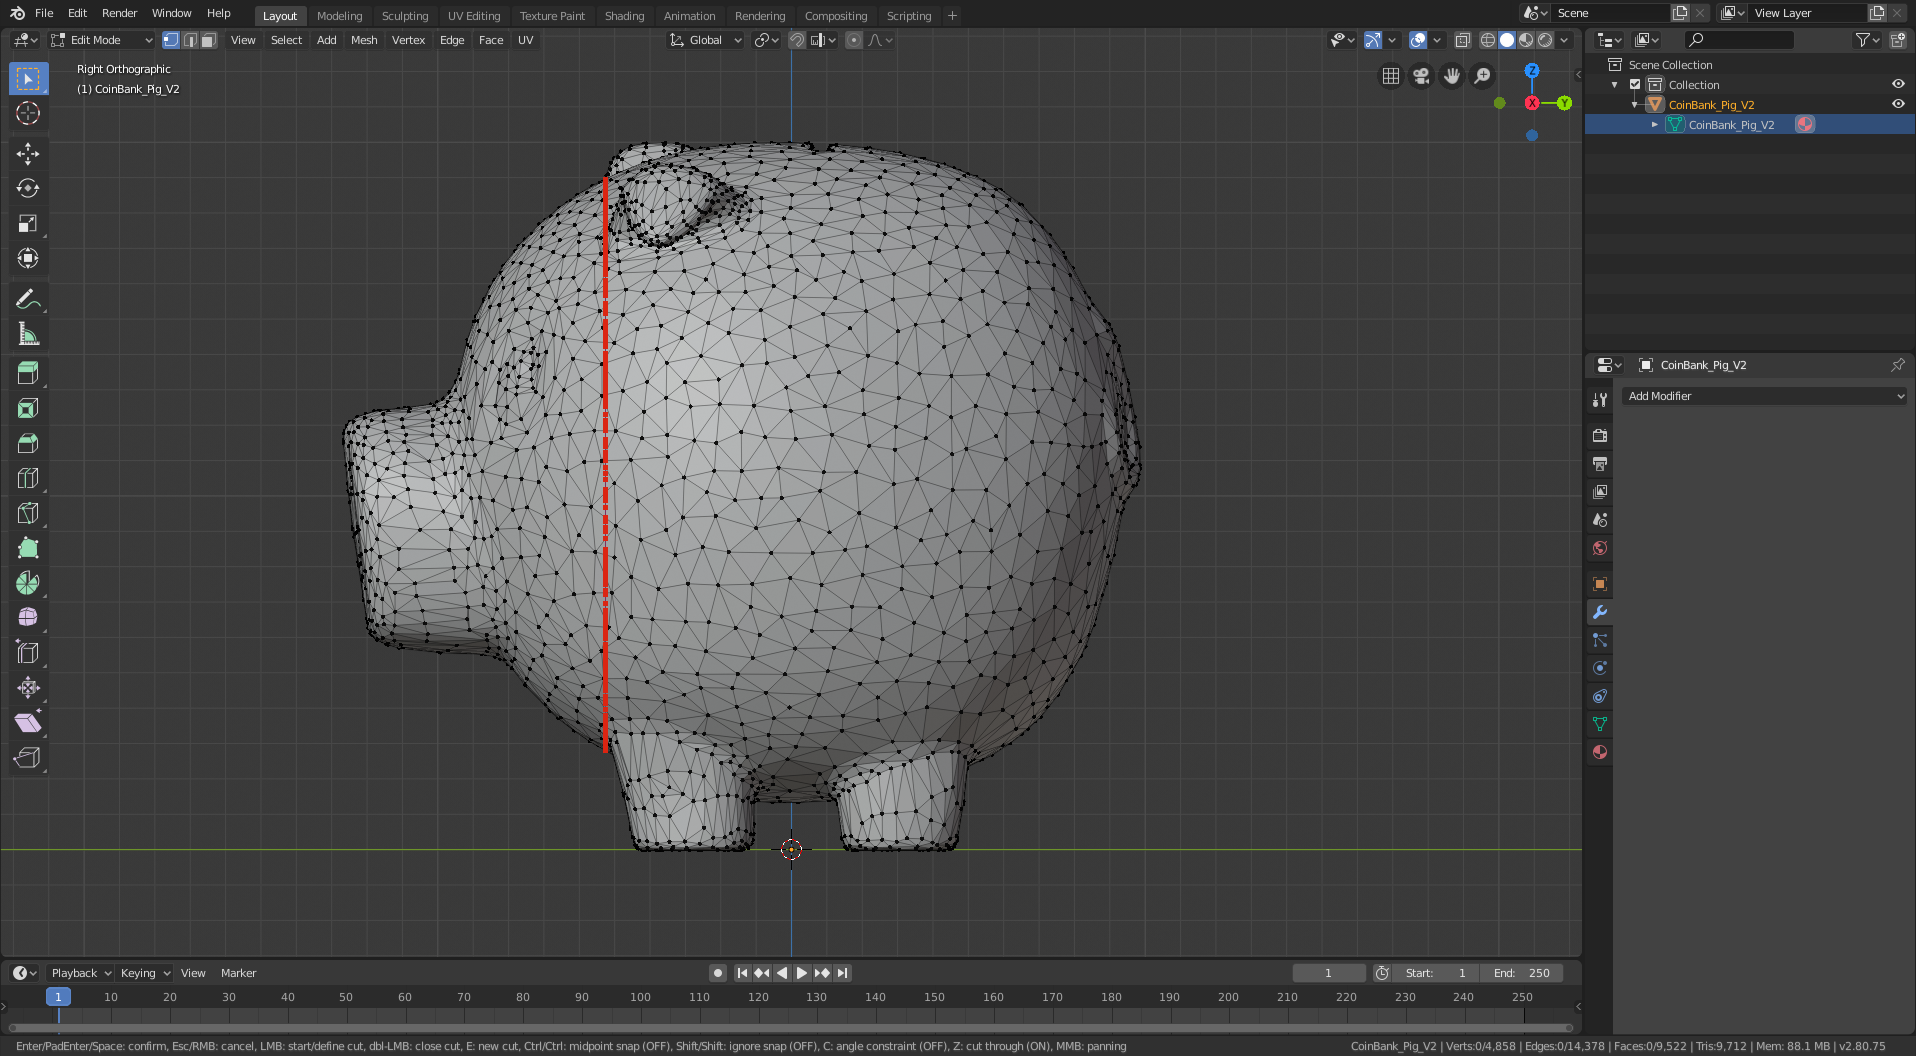
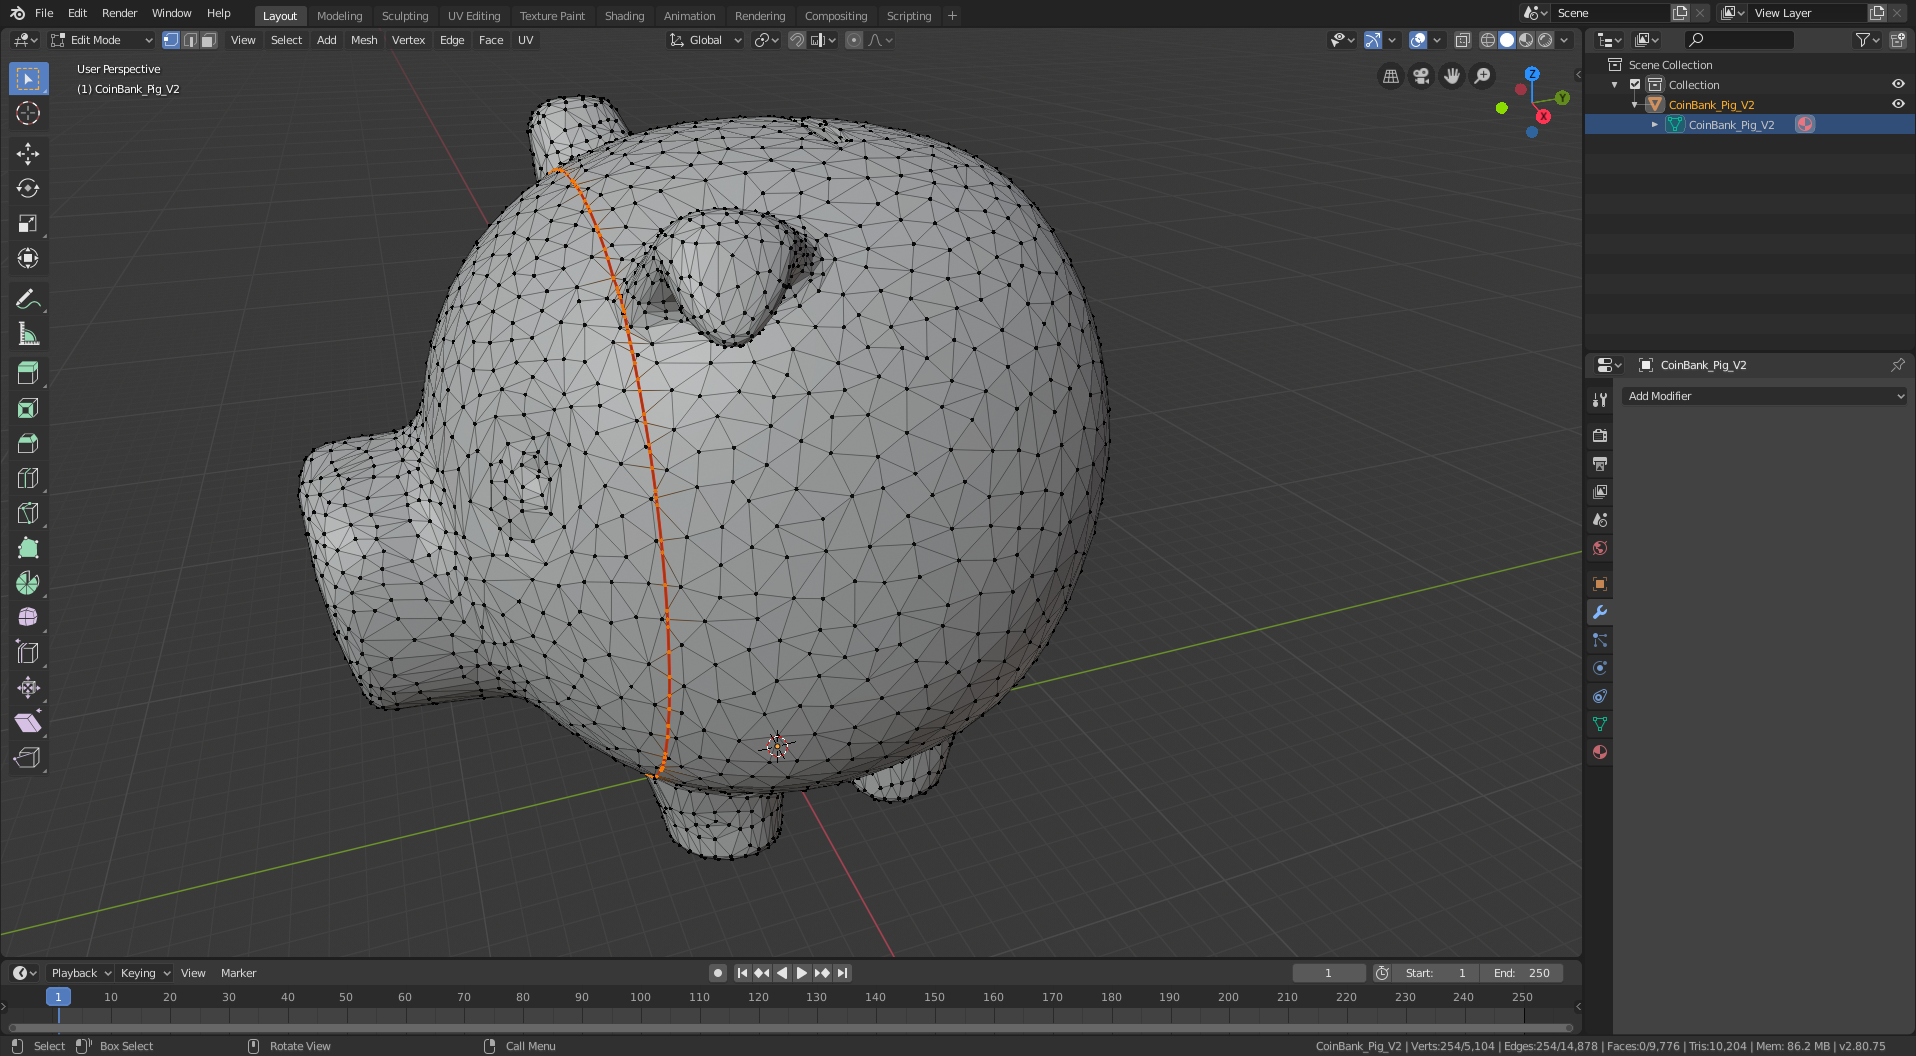
- view side (3) and cut head circle with knife (kz LMB LMB: k = knife tool, LMB = left mouse button, z means cut through all, click without dragging to make a straight line)
- open UV editing view. In normal view unwrap (a u unwrap)
- UV view UV Selecting Sync button
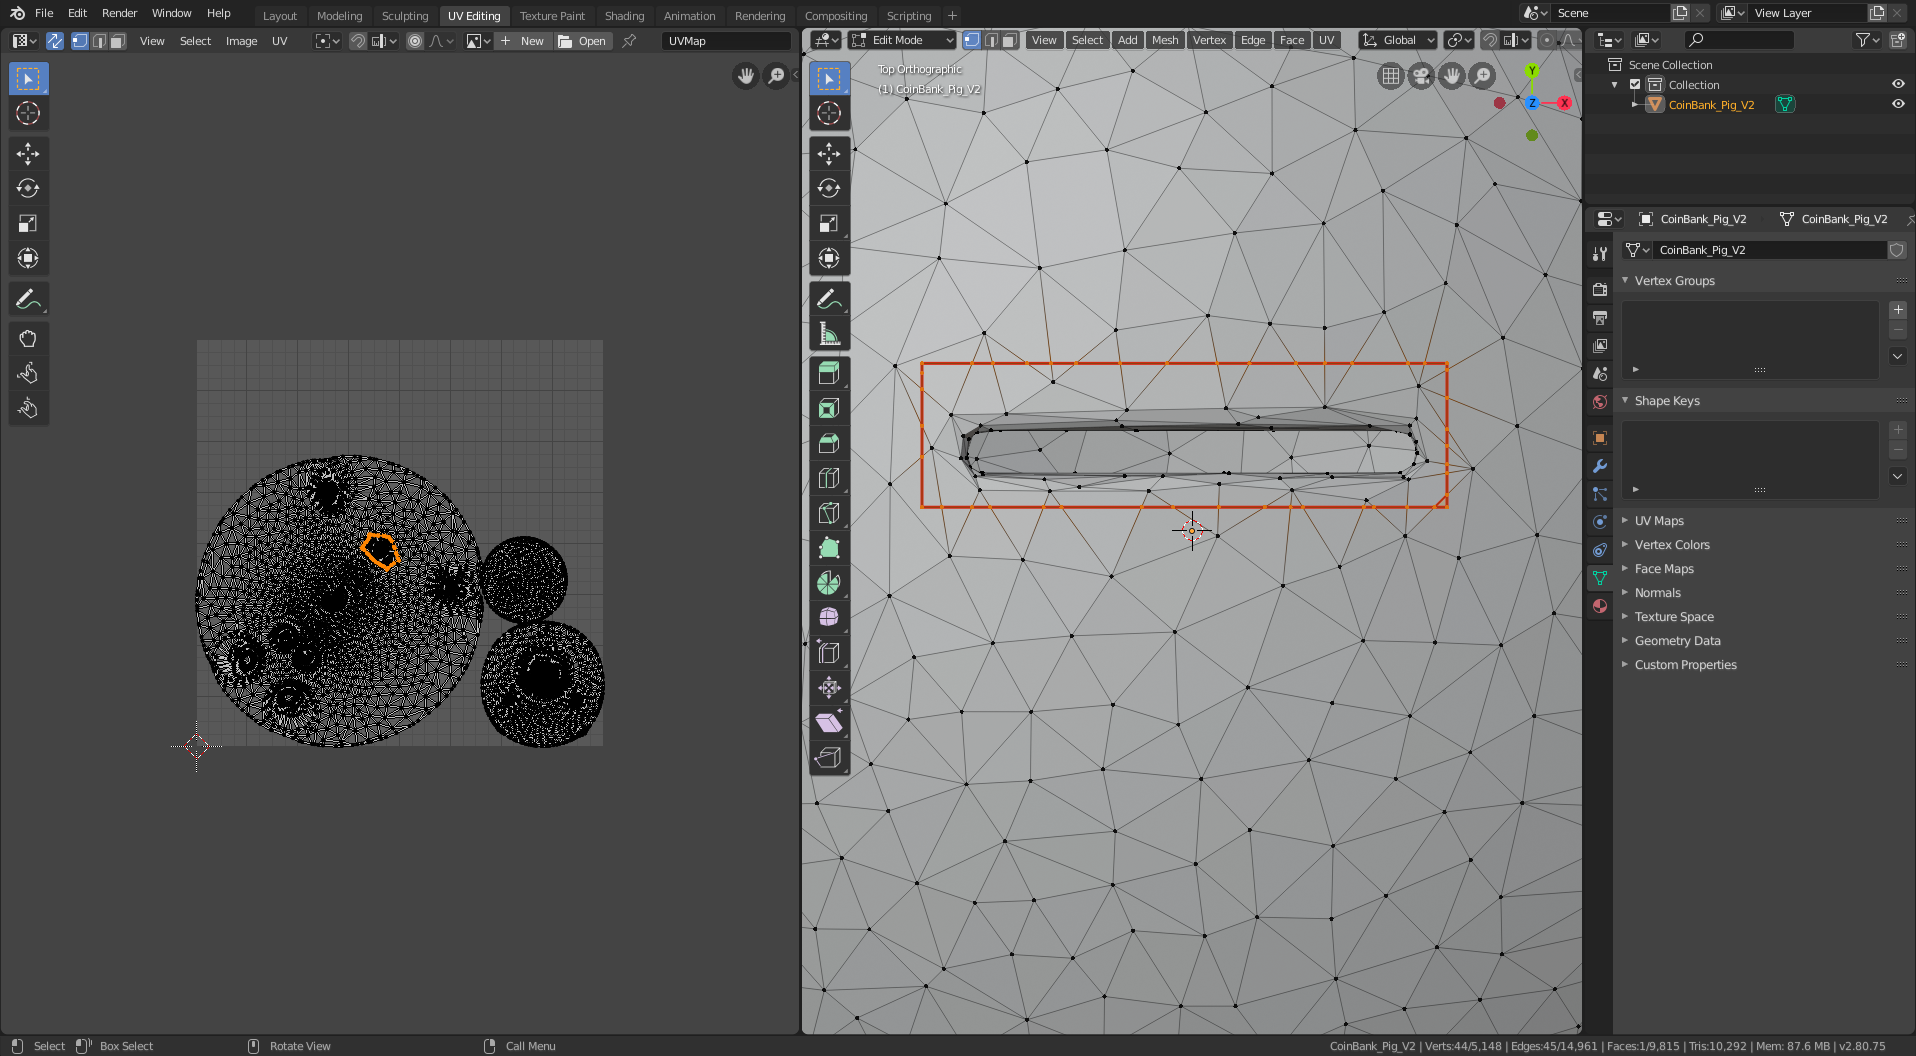
- 3d view top (7) cut out coin slot and make seam (kc hold shift LMB LMB LMB LMB double LMB: c = angle constrain to 45 degrees, shift = ignore snap to edges, double click = close loop. Ctrl+E make seam)
- unwrap again. UV view select the sections that are the interior (c + scroll + LMB + escape; 3d view x to delete faces)
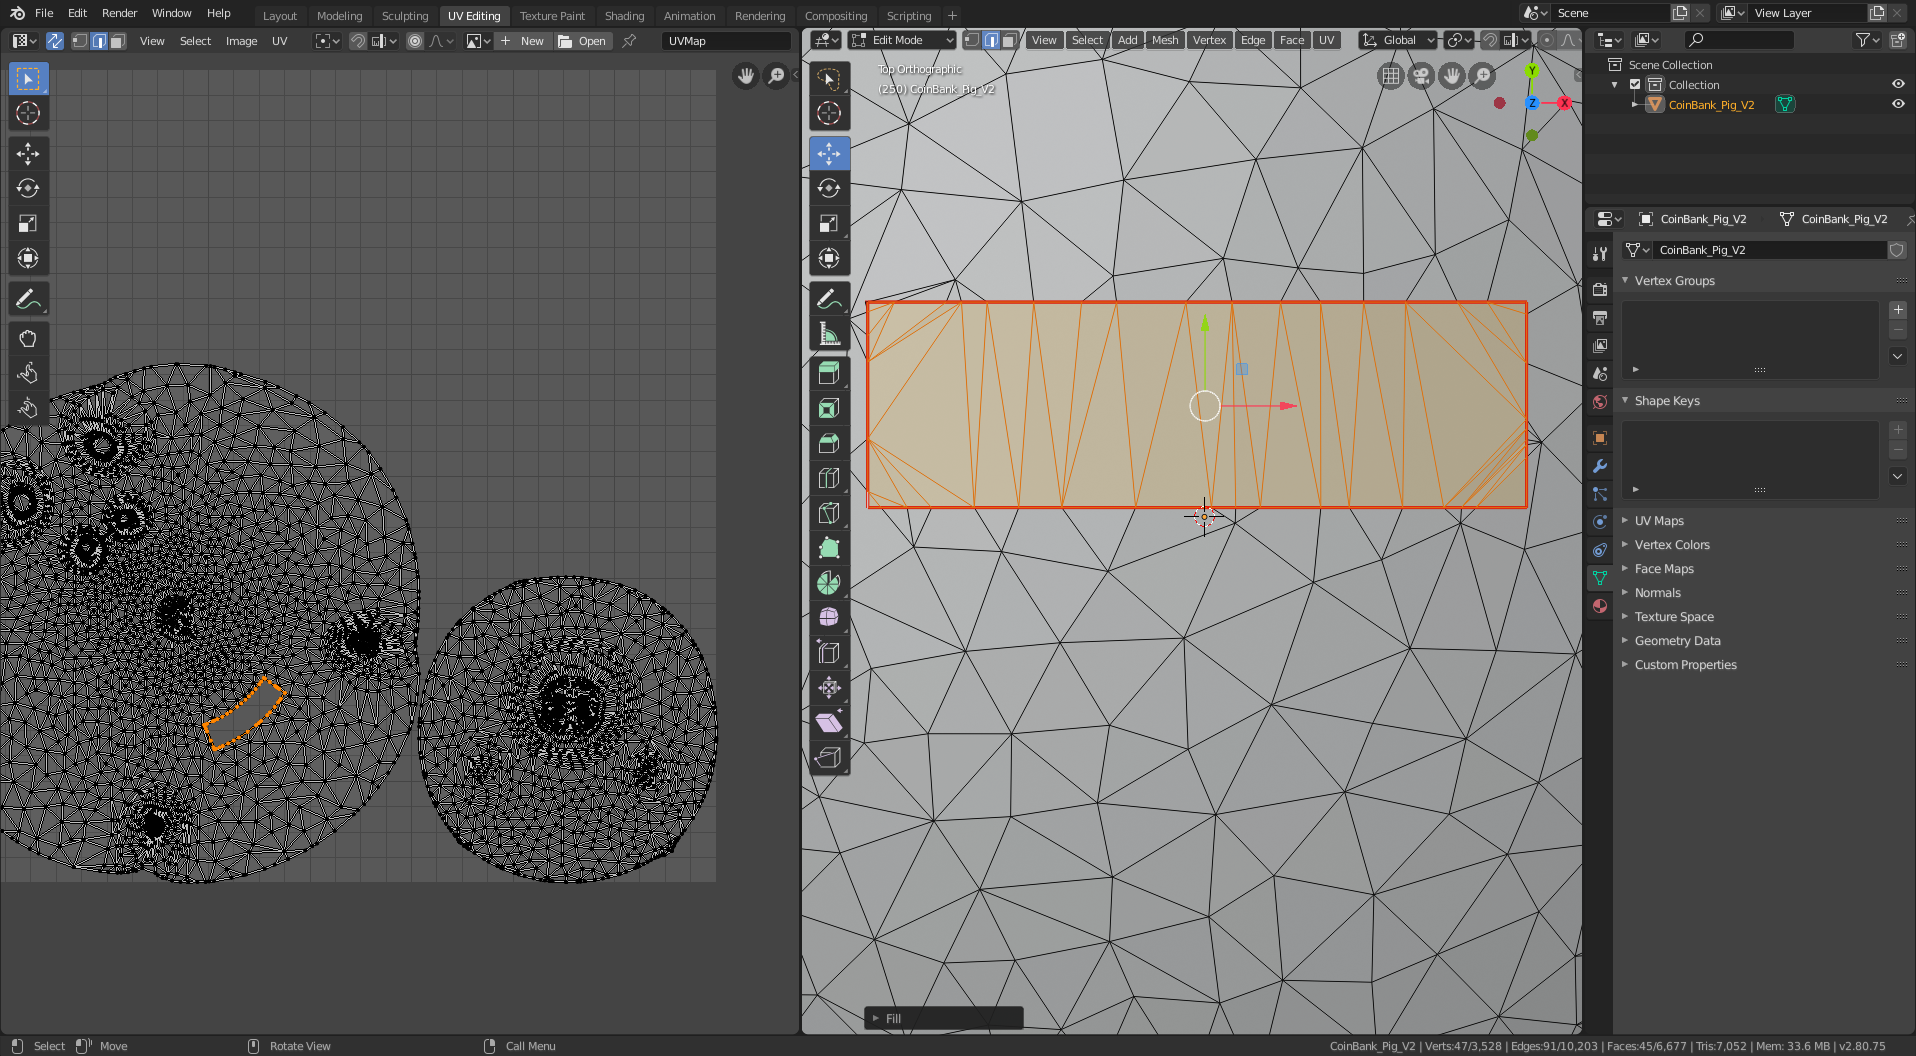
- select edge loop (edge select mode, alt + shift + LMB) and create a face (f) and triangulate it (Ctrl + F, triangualte faces)
- clear seam from coin slot
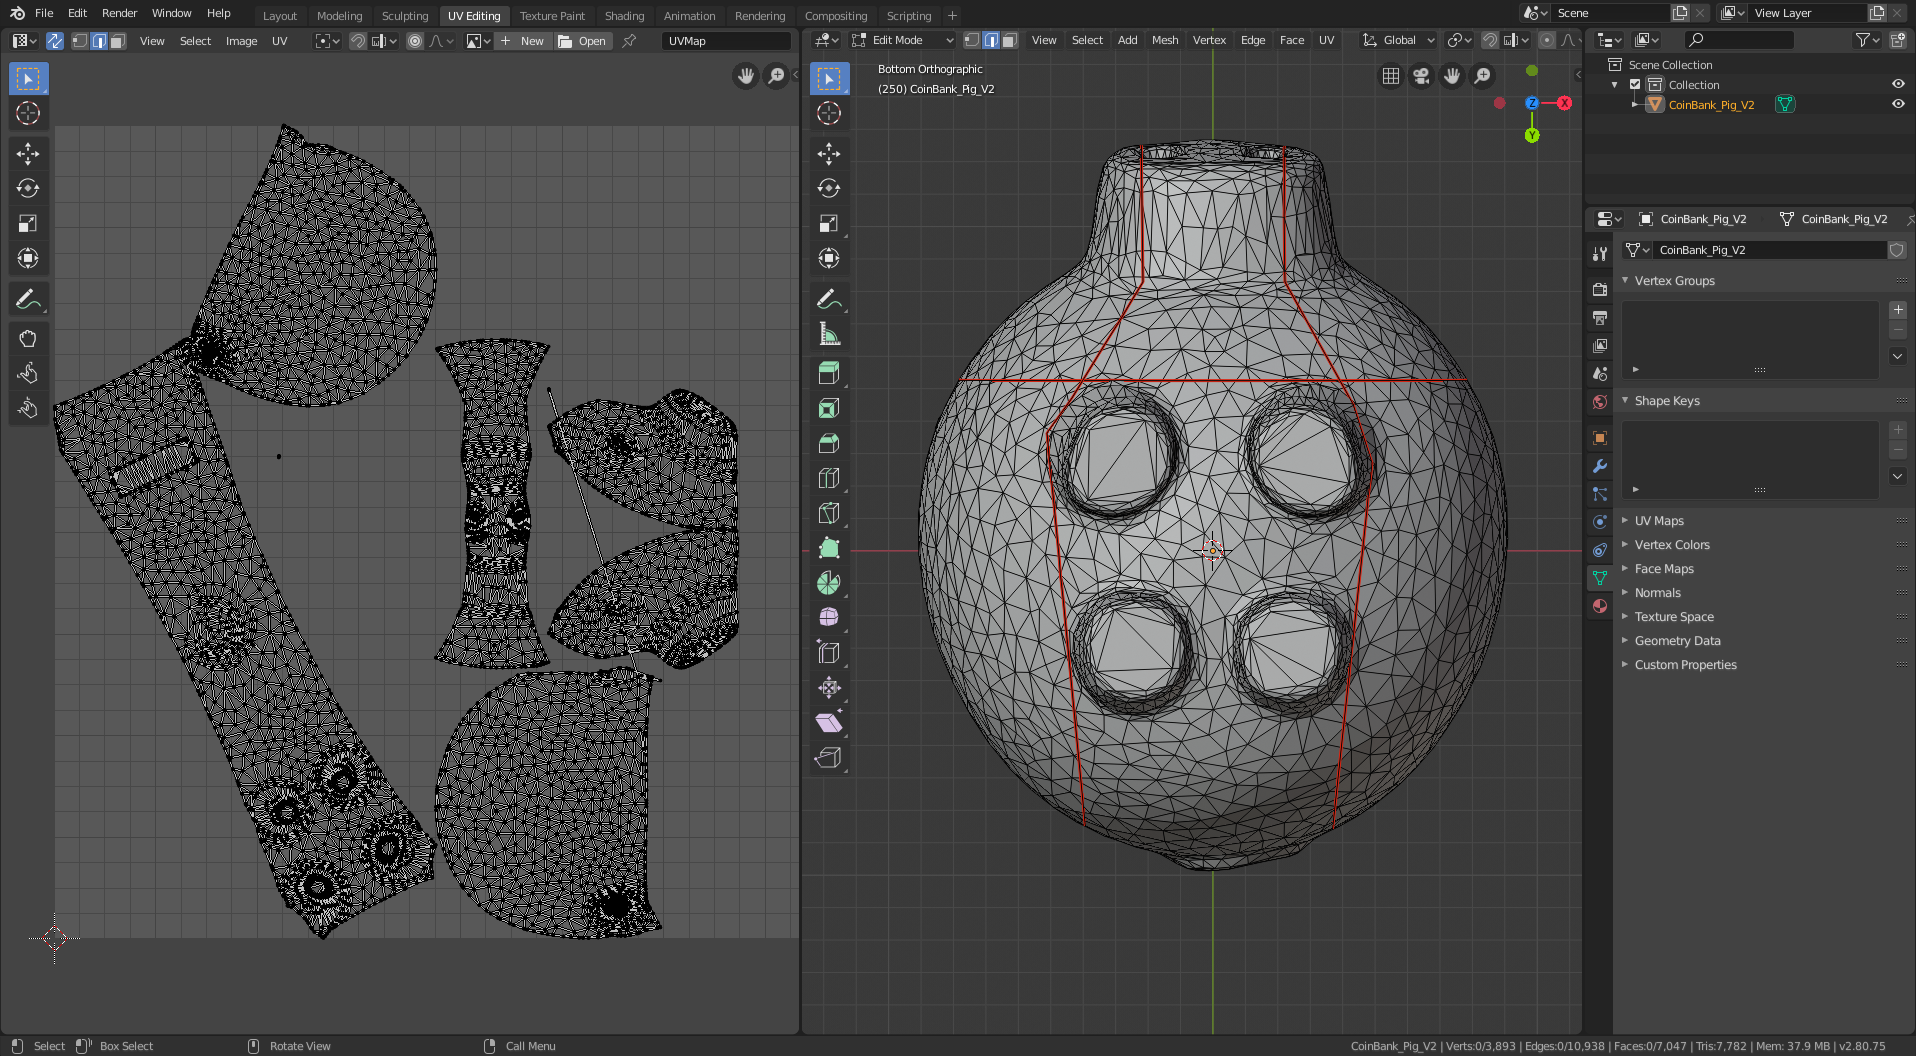
- bottom view (ctrl + 7), cut length-wise seams (kz shift repeat LMB), unwrap again
- front view (1) remove seams across snout and replace with seams around snout (knife + clear/make seam), unwrap again
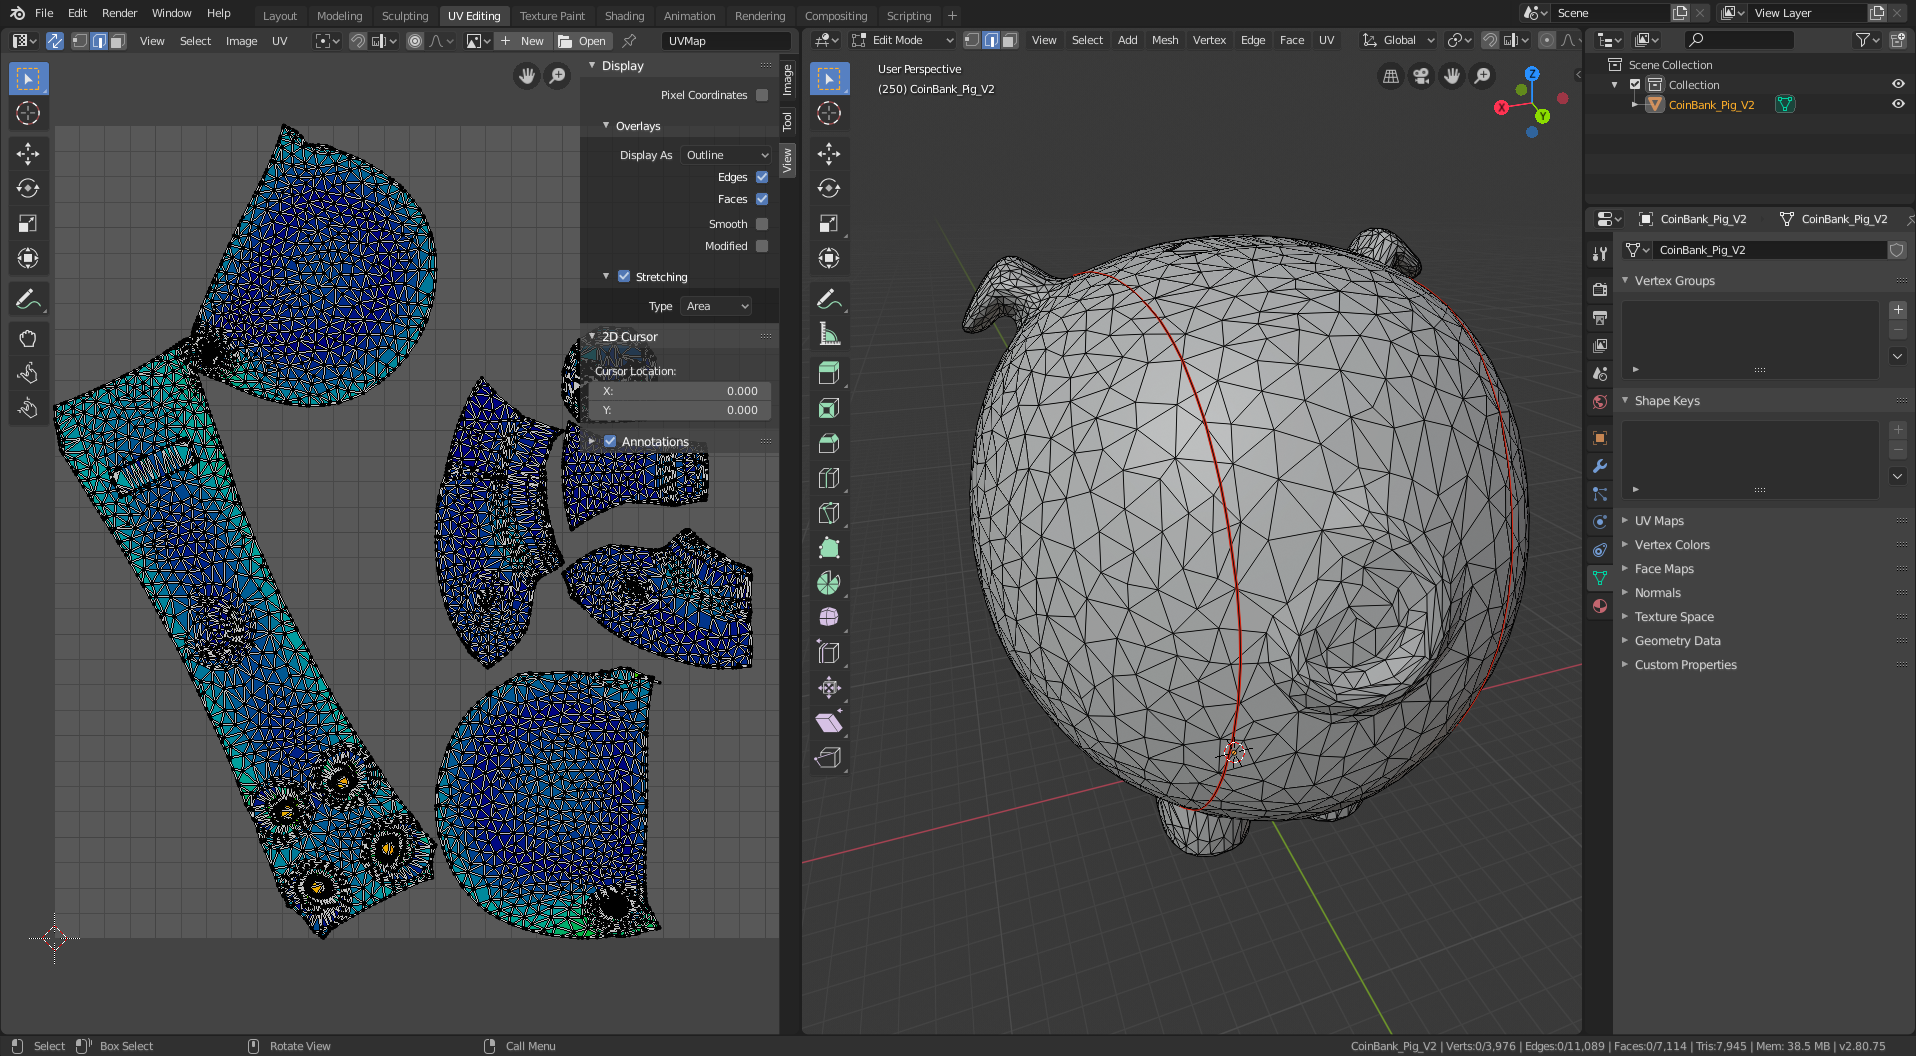
- uv view tool panel (n) -> view -> display -> overlays -> stretching (check) -> type = area; hide toolbar (n)
- clean up ear seams the same way. It’s important to separate ear/snout geometry from the rest of the mesh because I’m sewing them differently from the 3d model and I don’t want their geometry to influence the nets for other parts
- select tail, vertices -> smooth vertices to smooth out the big’s butt. Unwrap.
- clean up ears, including making darts to make stretch go away
- delete nostrils, fill them in
- redo all the feet seams
- remaining stretch is a little in the tips of the ears (whatever, the shape will change a bit but that’s fine) and in the transition to the snout (it will come out more curved than the 3D model, less of a sharp transition).
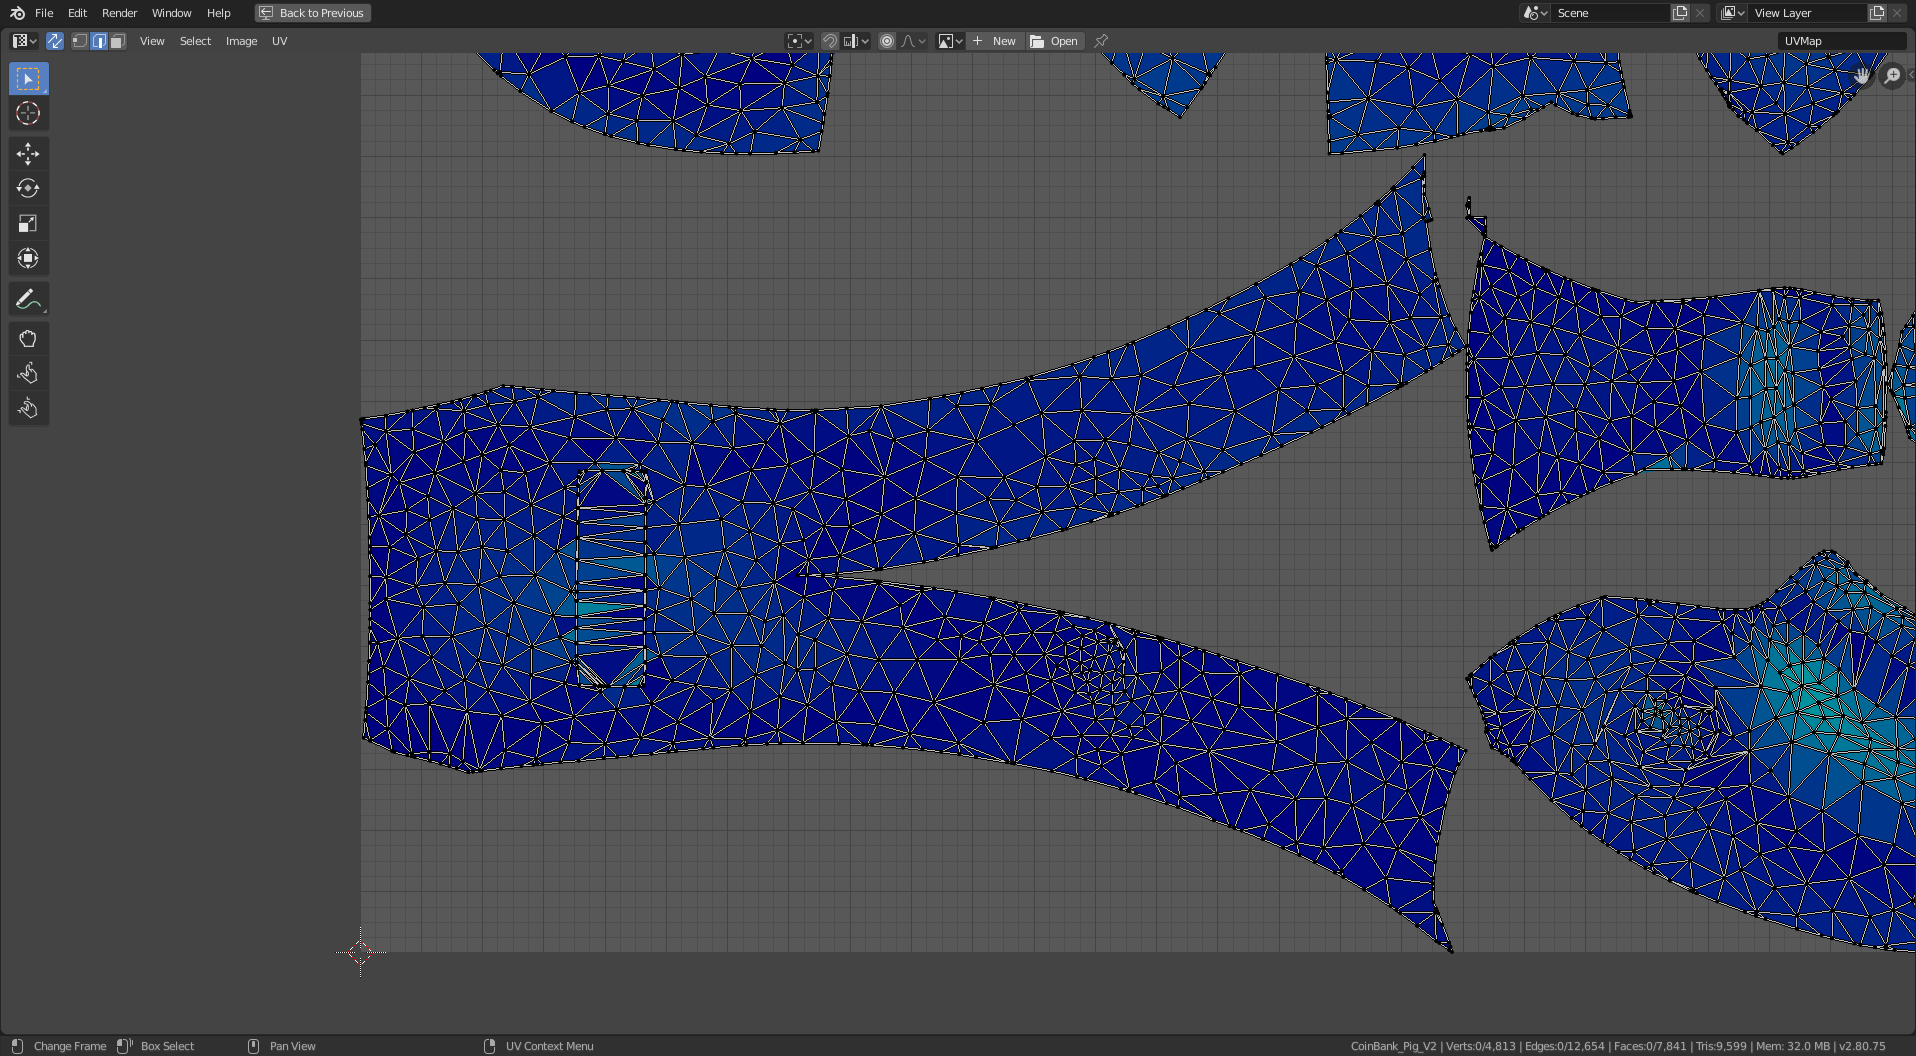
- arrange all uv polygons so there’s space in between
- measure pig from the bottom –> 22 boxes front to back = 12". Round it to 2 boxes per inch.
- view only UV (ctrl + space with it focused), zoom in, and screenshot (export is also possible, but then you lose the grid lines)
Now, outside of blender:
- use image editing software to set the scale then lay out all polygons on pages
- print!
- sew!
- profit!
I took a number of screenshots to document this project, but I waited many months between finishing the pig and writing this documentation (bad David!) so I no longer remember what they were all for. Instead of reverse engineering it myself, I’m just going to provide each image with the few words of description I left myself and you can figure out the meaning yourself (good luck!). The images are ordered to match the blender commands:
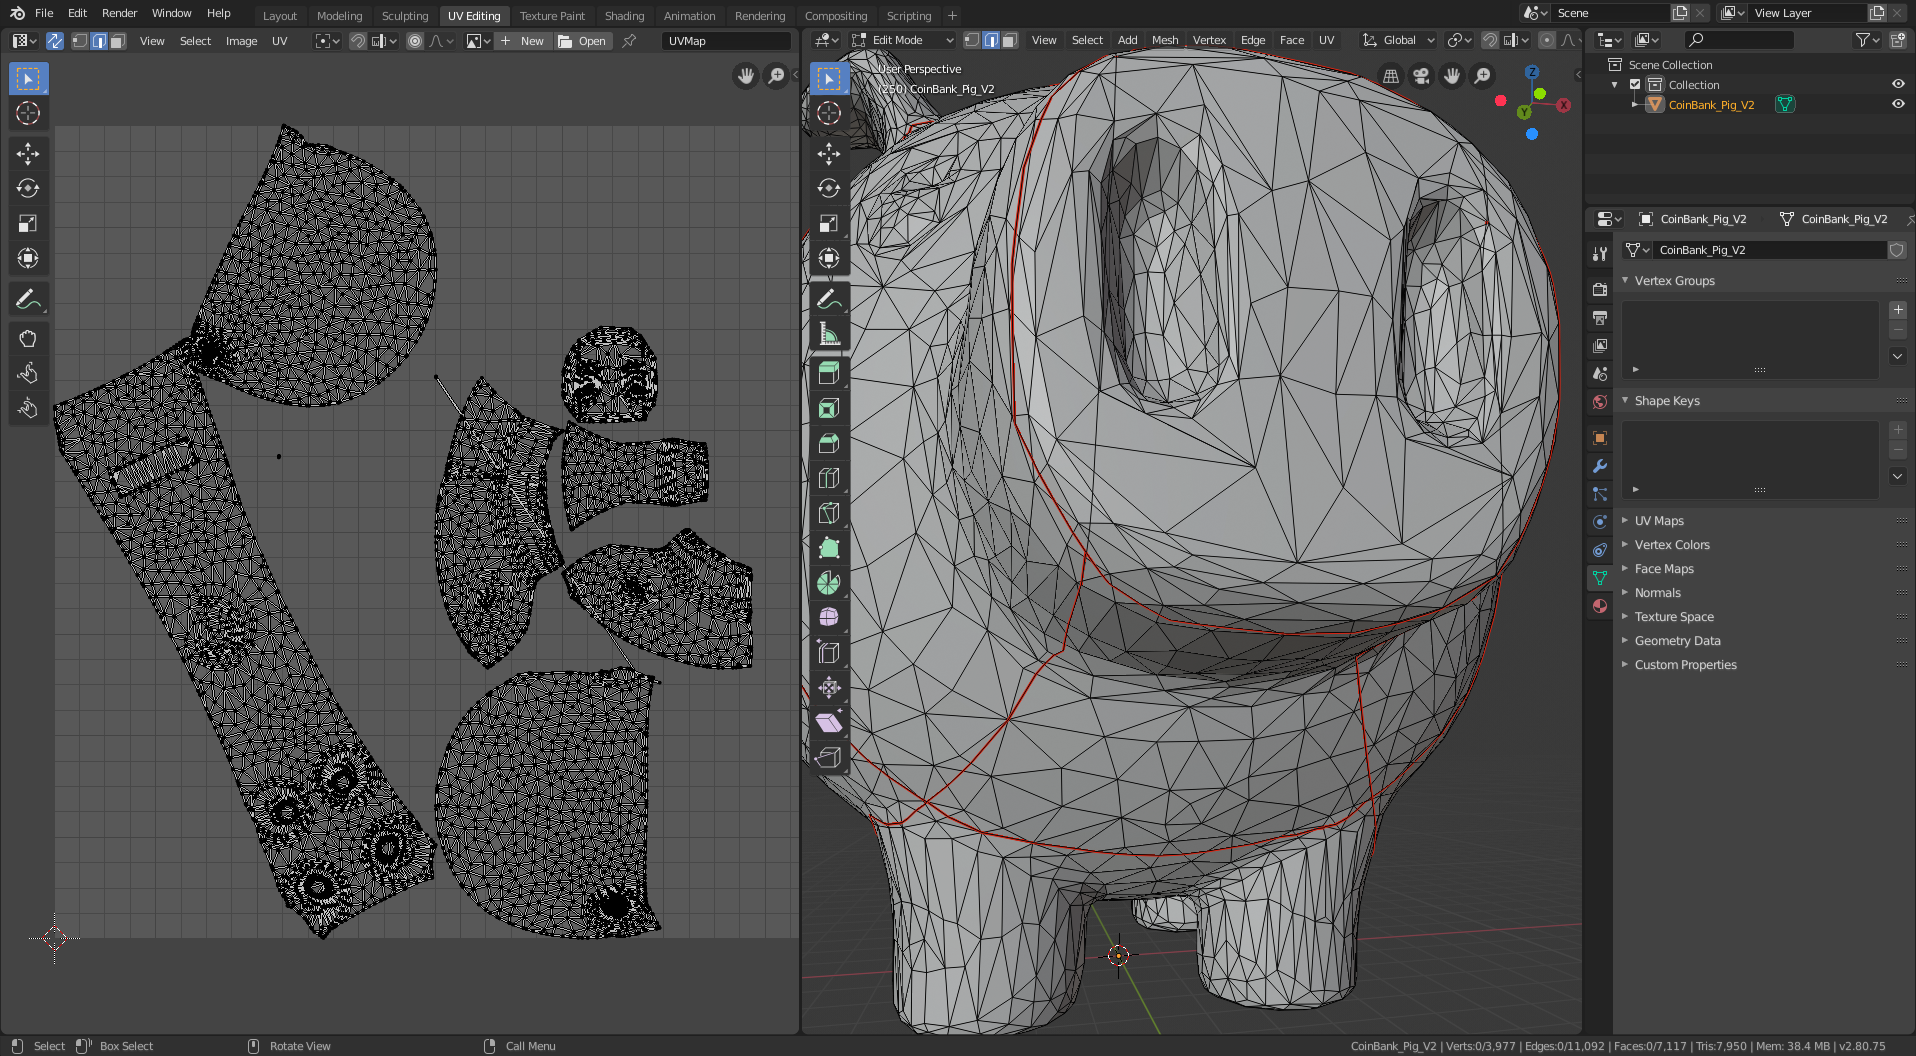
- pig high poly
- pig cut head circle
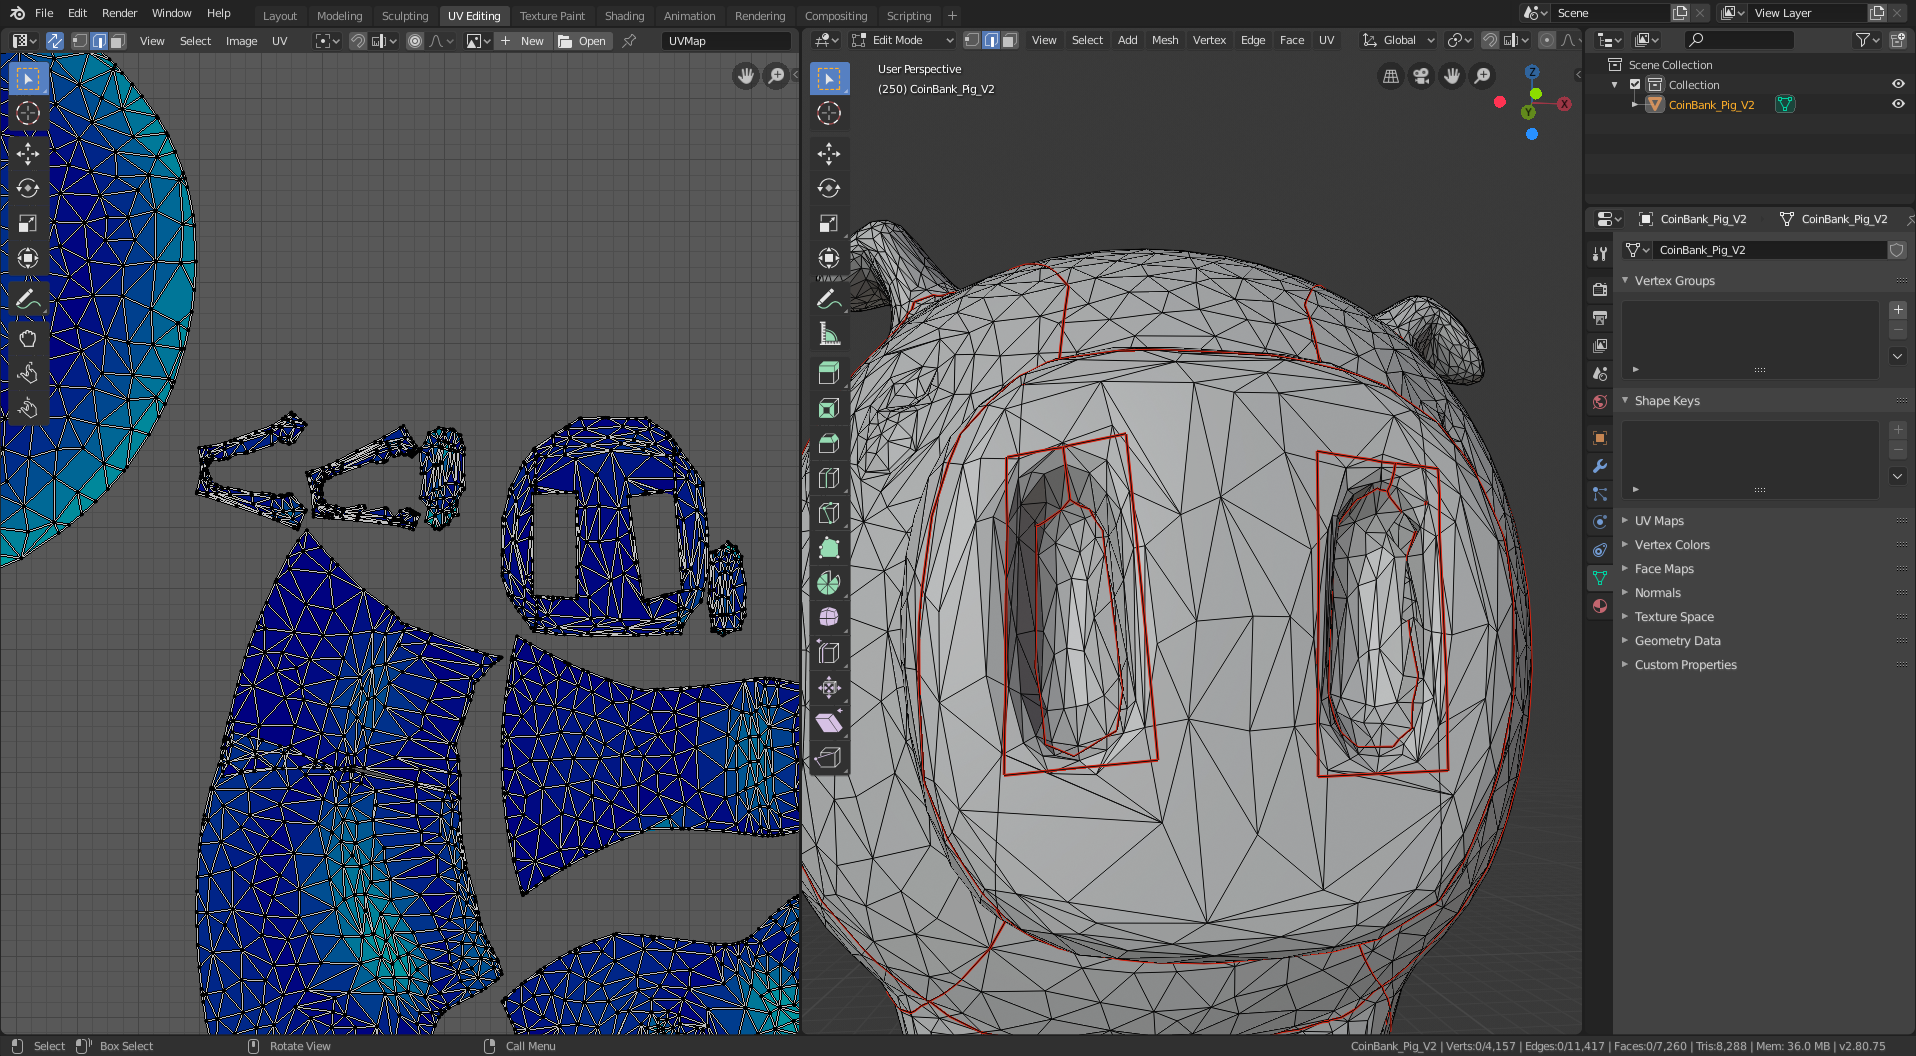
- pig head first seam
- pig top seam internals
- pig coin slot filled
- pig lengthwise seams
- pig fix snout seams
- pig stretch
- clean up pig snout
- pig ear seams
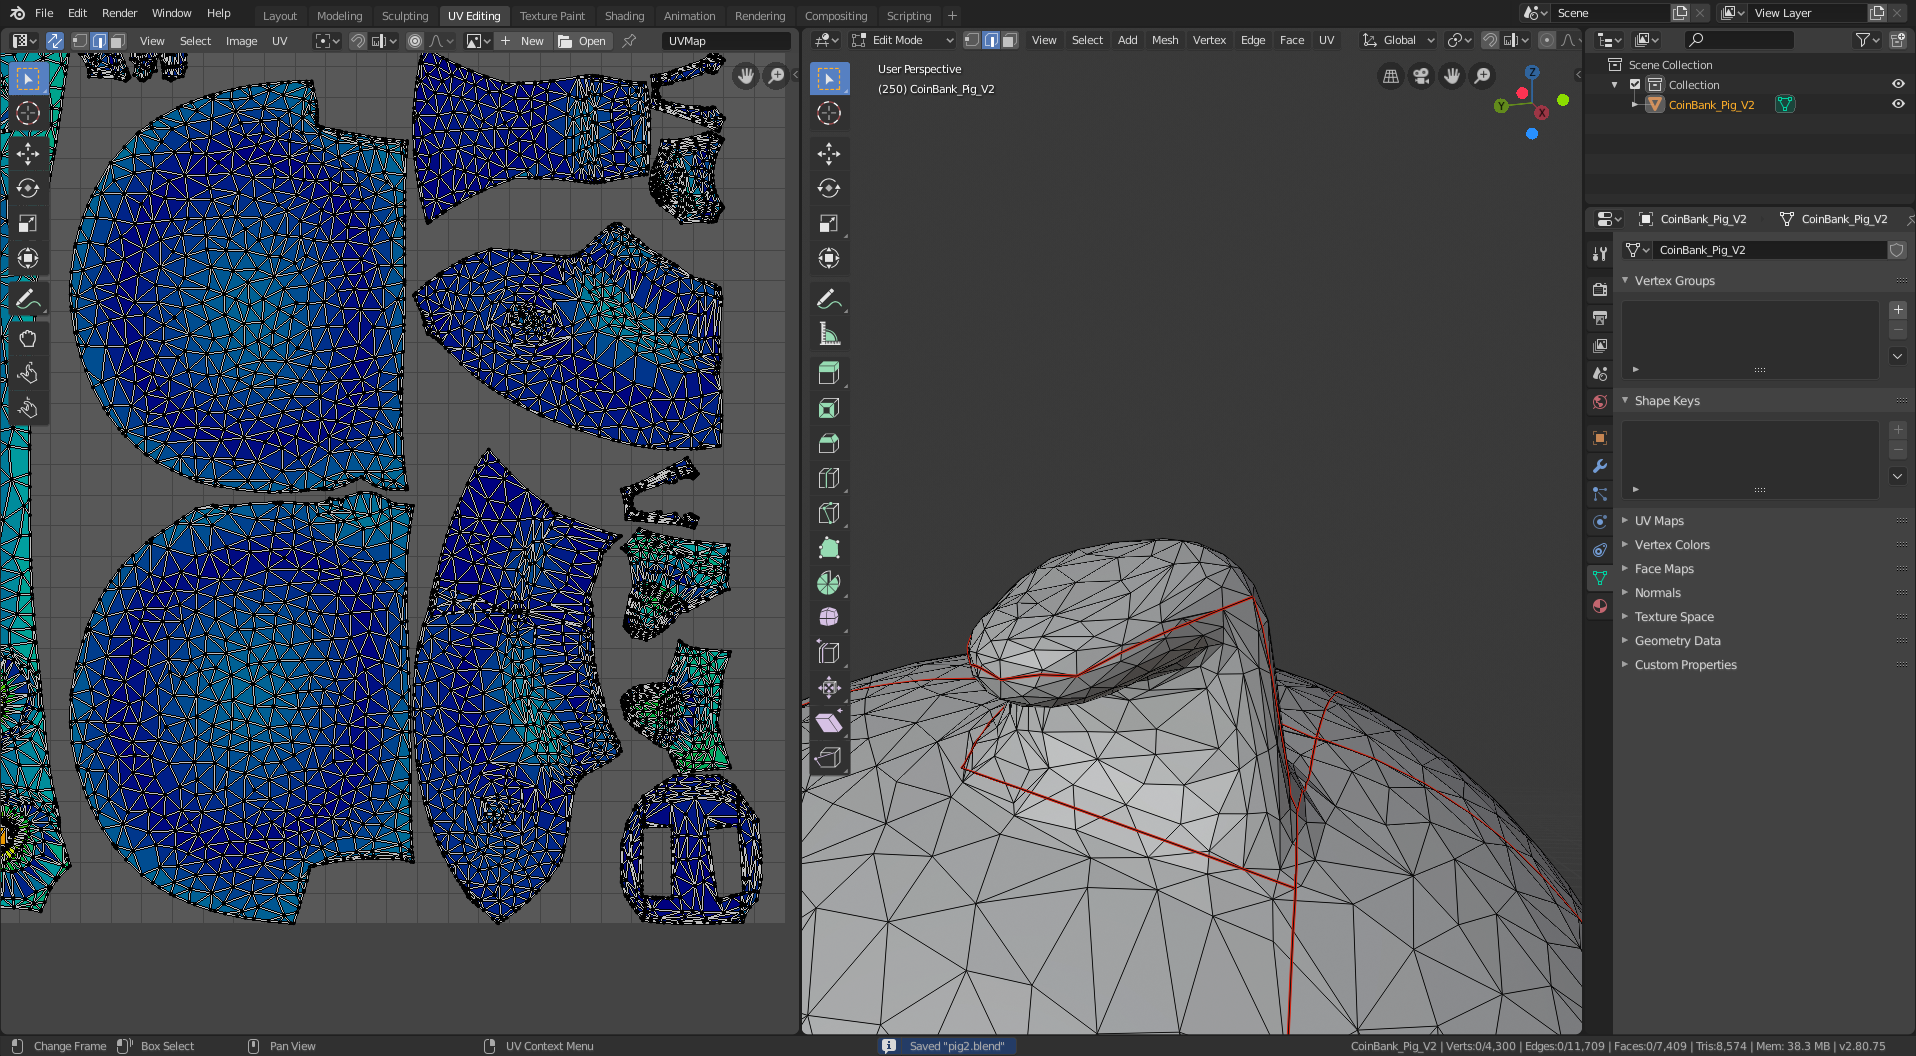
- pig tail smoothed
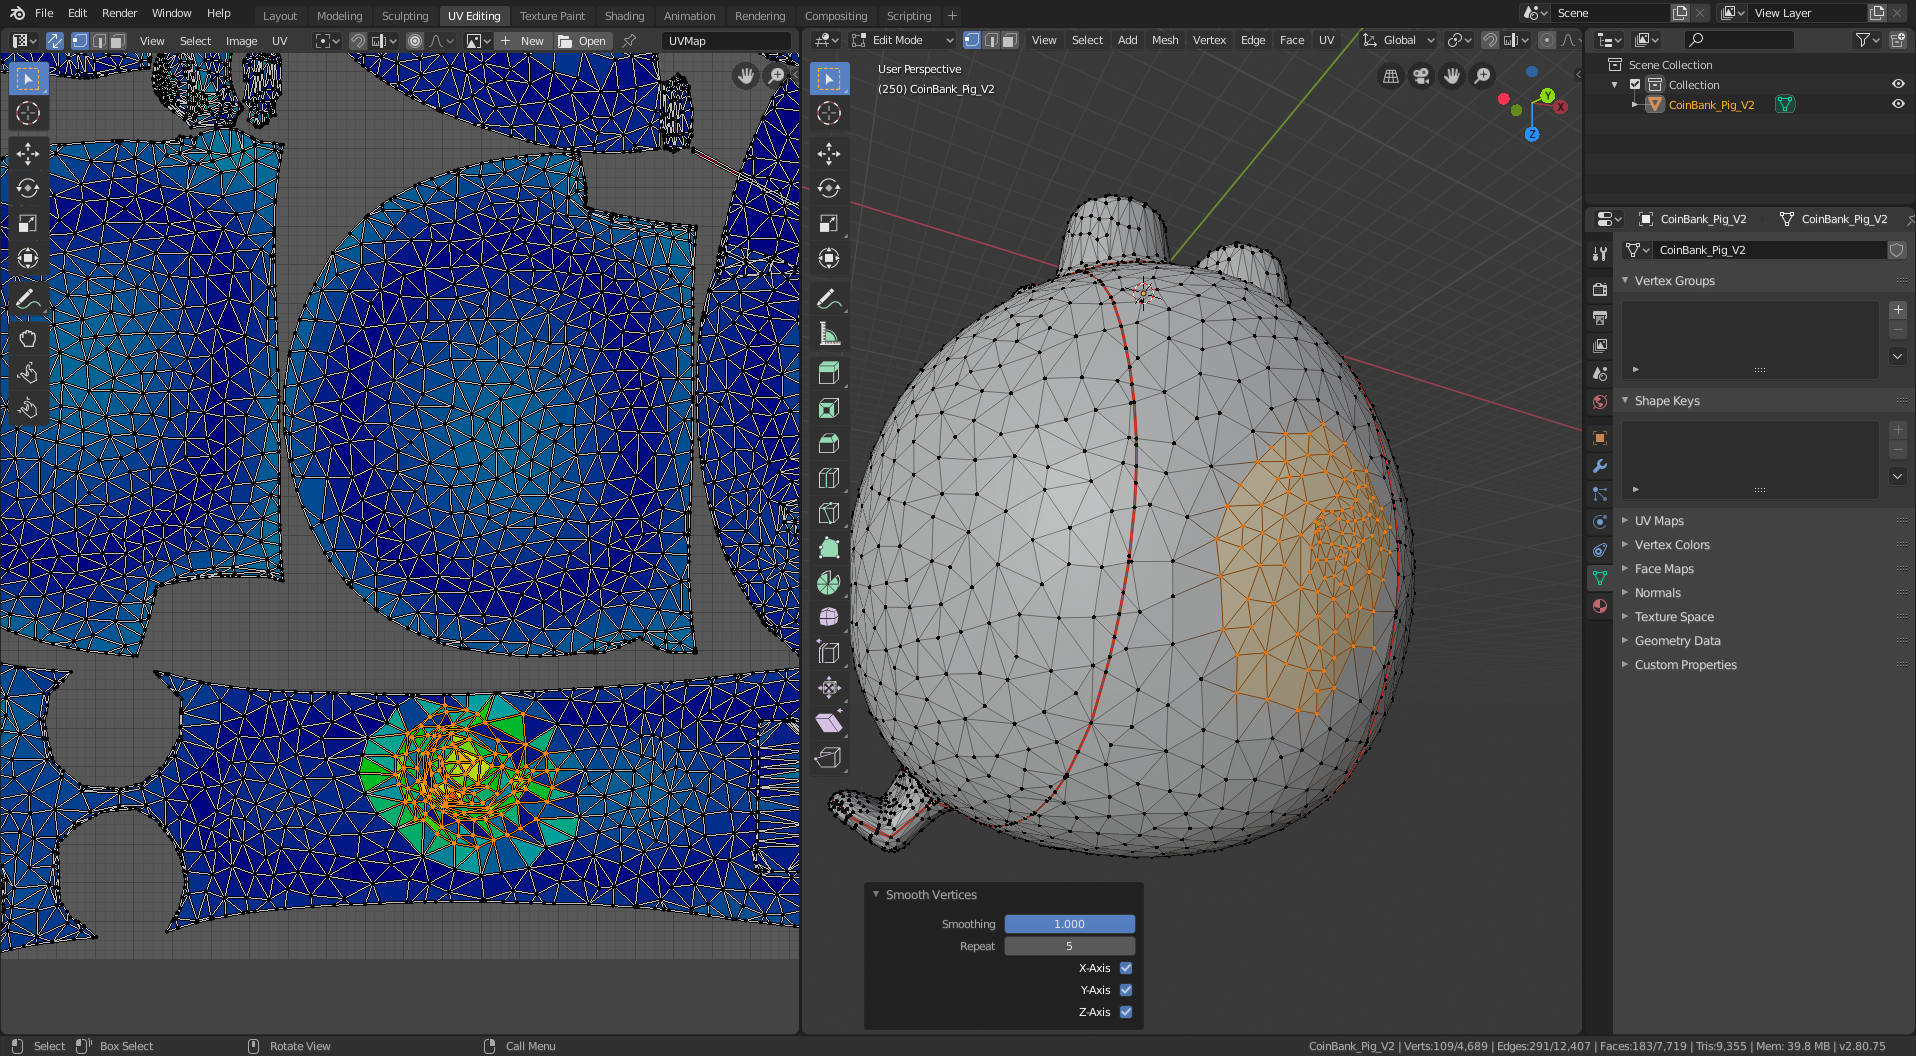
- pig tail before smoothed
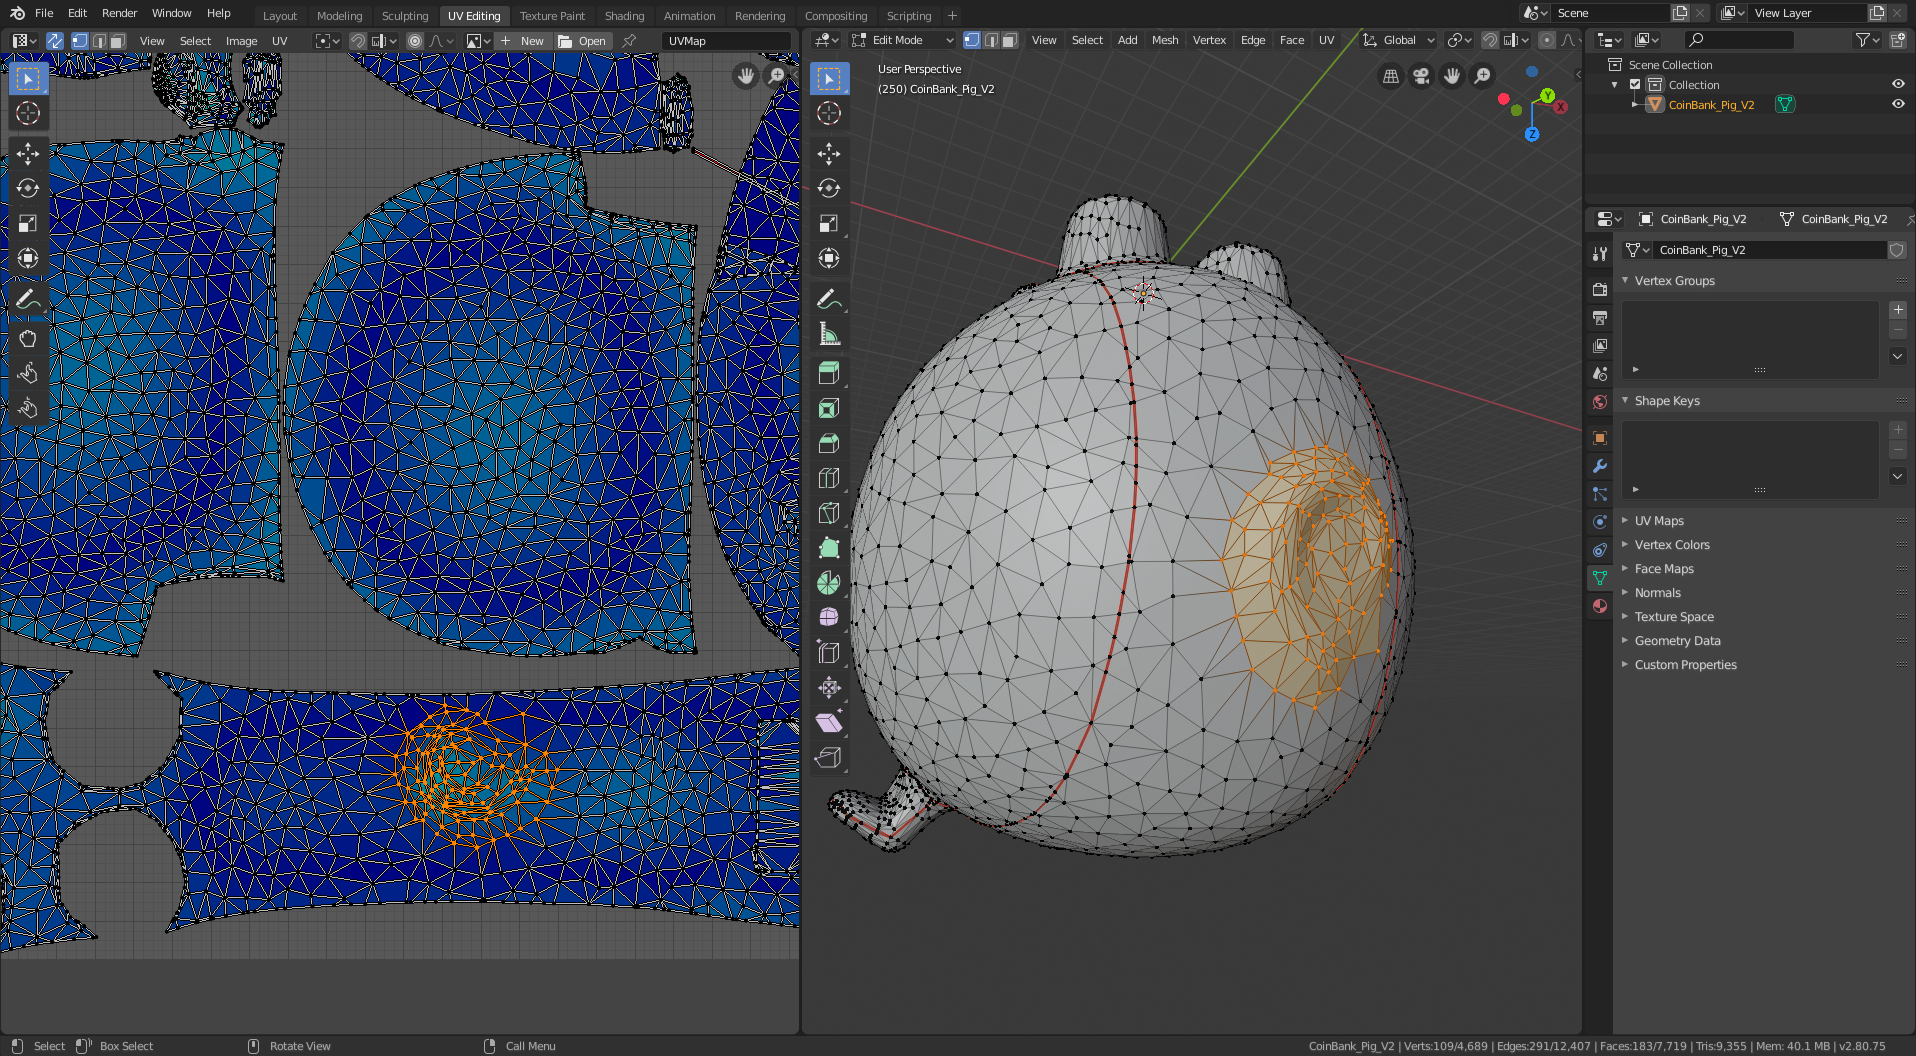
- pig rear leg relief cut
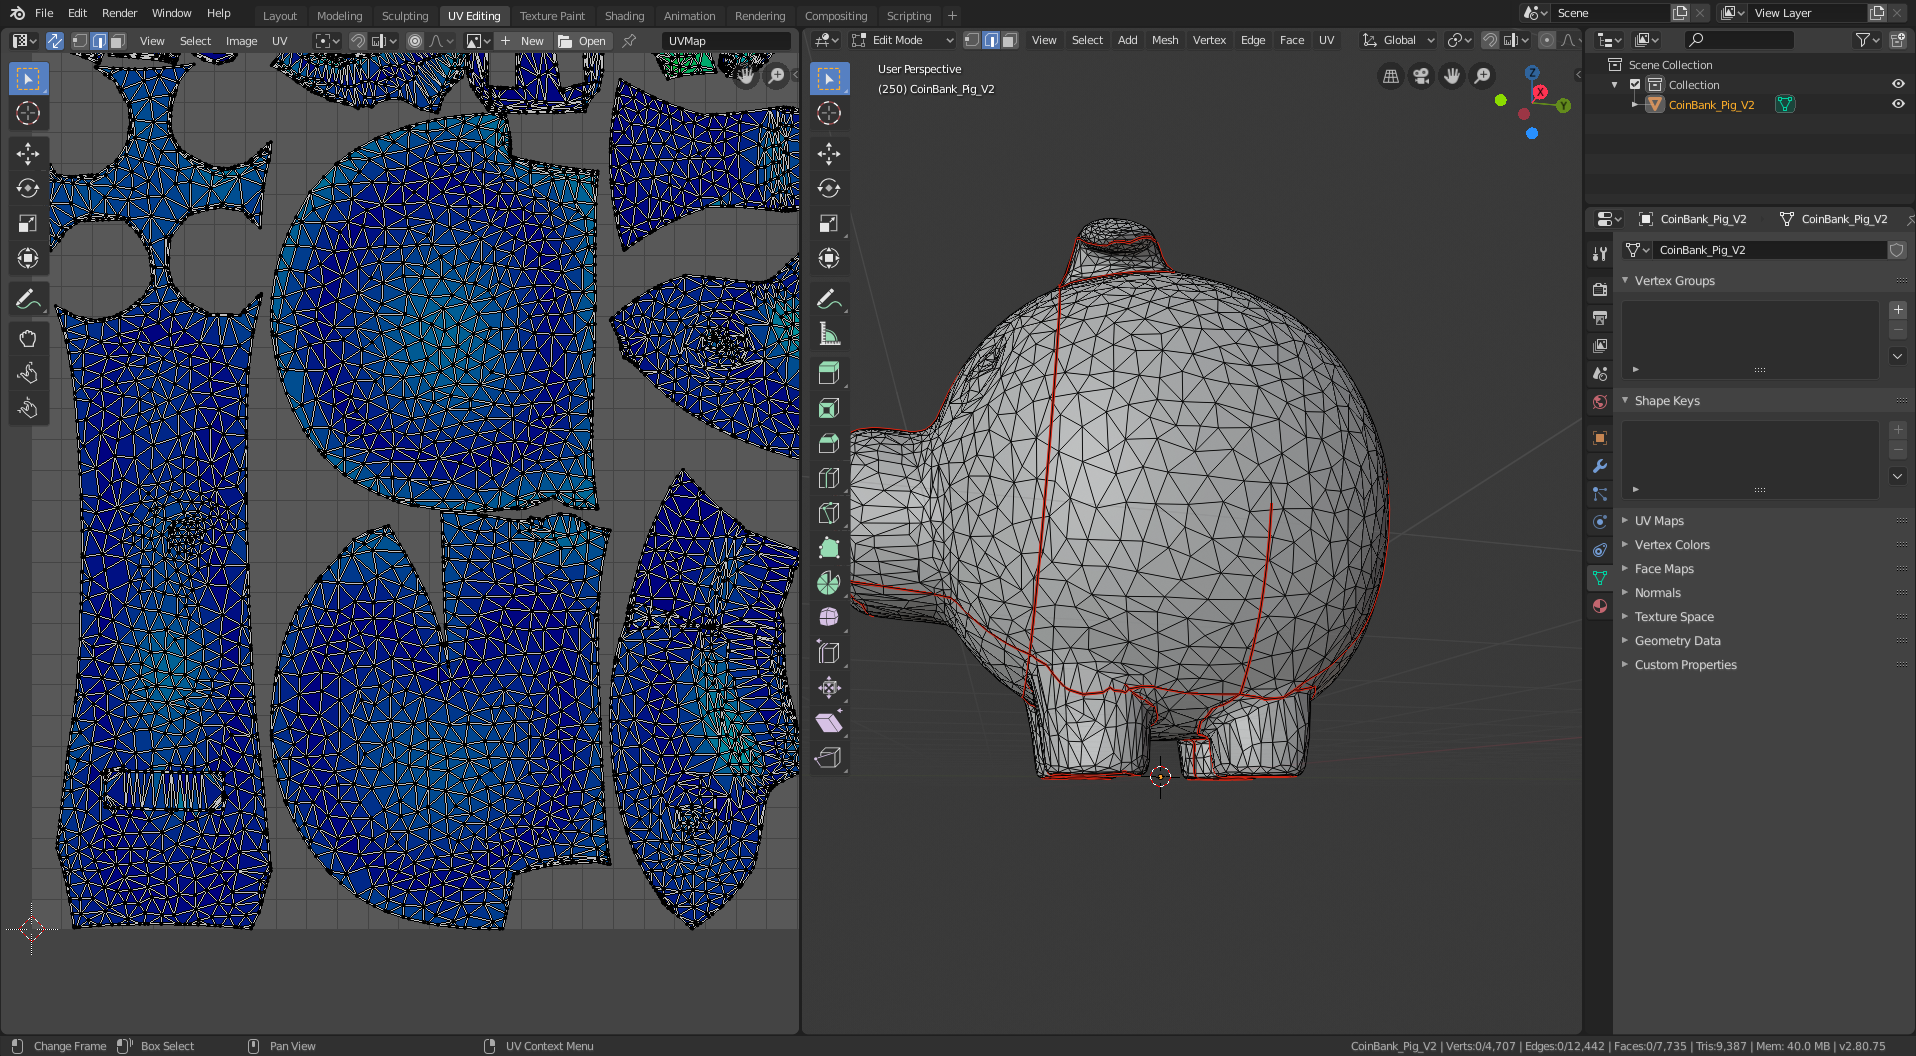
- pig butt relief cut. Ok, this one I remember. You need darts/relief cuts to sew a sphere (at a reasonable level of distortion), and the original sewing pattern did this by making a seam at the pig’s butt, which in my full level of maturity I referred to as the pig’s butt crack. In the previous screenshot you can see that the last remaining high-stretch region is on the long rectangular pattern for the pig’s back and butt. In this screenshot you can see that adding a cut for the pig’s butt crack results in a rather large dart (lots of curvature!) and removes the excess stretch. Yay butt cracks! (The butt crack jokes are definitely the only reason I remember any of this.)
For good measure, here’s my final blender file and scaled sewing pattern.
Bacon bits
I haven’t been sidetracked enough in this documentation – time for a diversion. I spent many quality hours staring at and modifying these 2d-patches-that-assemble-into-a-pig. Enough hours to wonder what I should call them, because that description doesn’t cut it. As a strict vegetarian, I decided the name “bacon bits” pretty much hit the spot. But why stop there? Jade and I had a long discussion of alternative names, which I wrote down all of (as an important part of the project documentation, obviously). Her favorite was “sow shreds”. I’m partial to “poultry parts” and “porker polygons”. Not to slight “pig patches”, “swine scraps”, “piglet pickings”, “piggy patterns”, “piggo partings”, “pork chop piercings”, and “piggy particles”. Please send me any additional naming ideas.
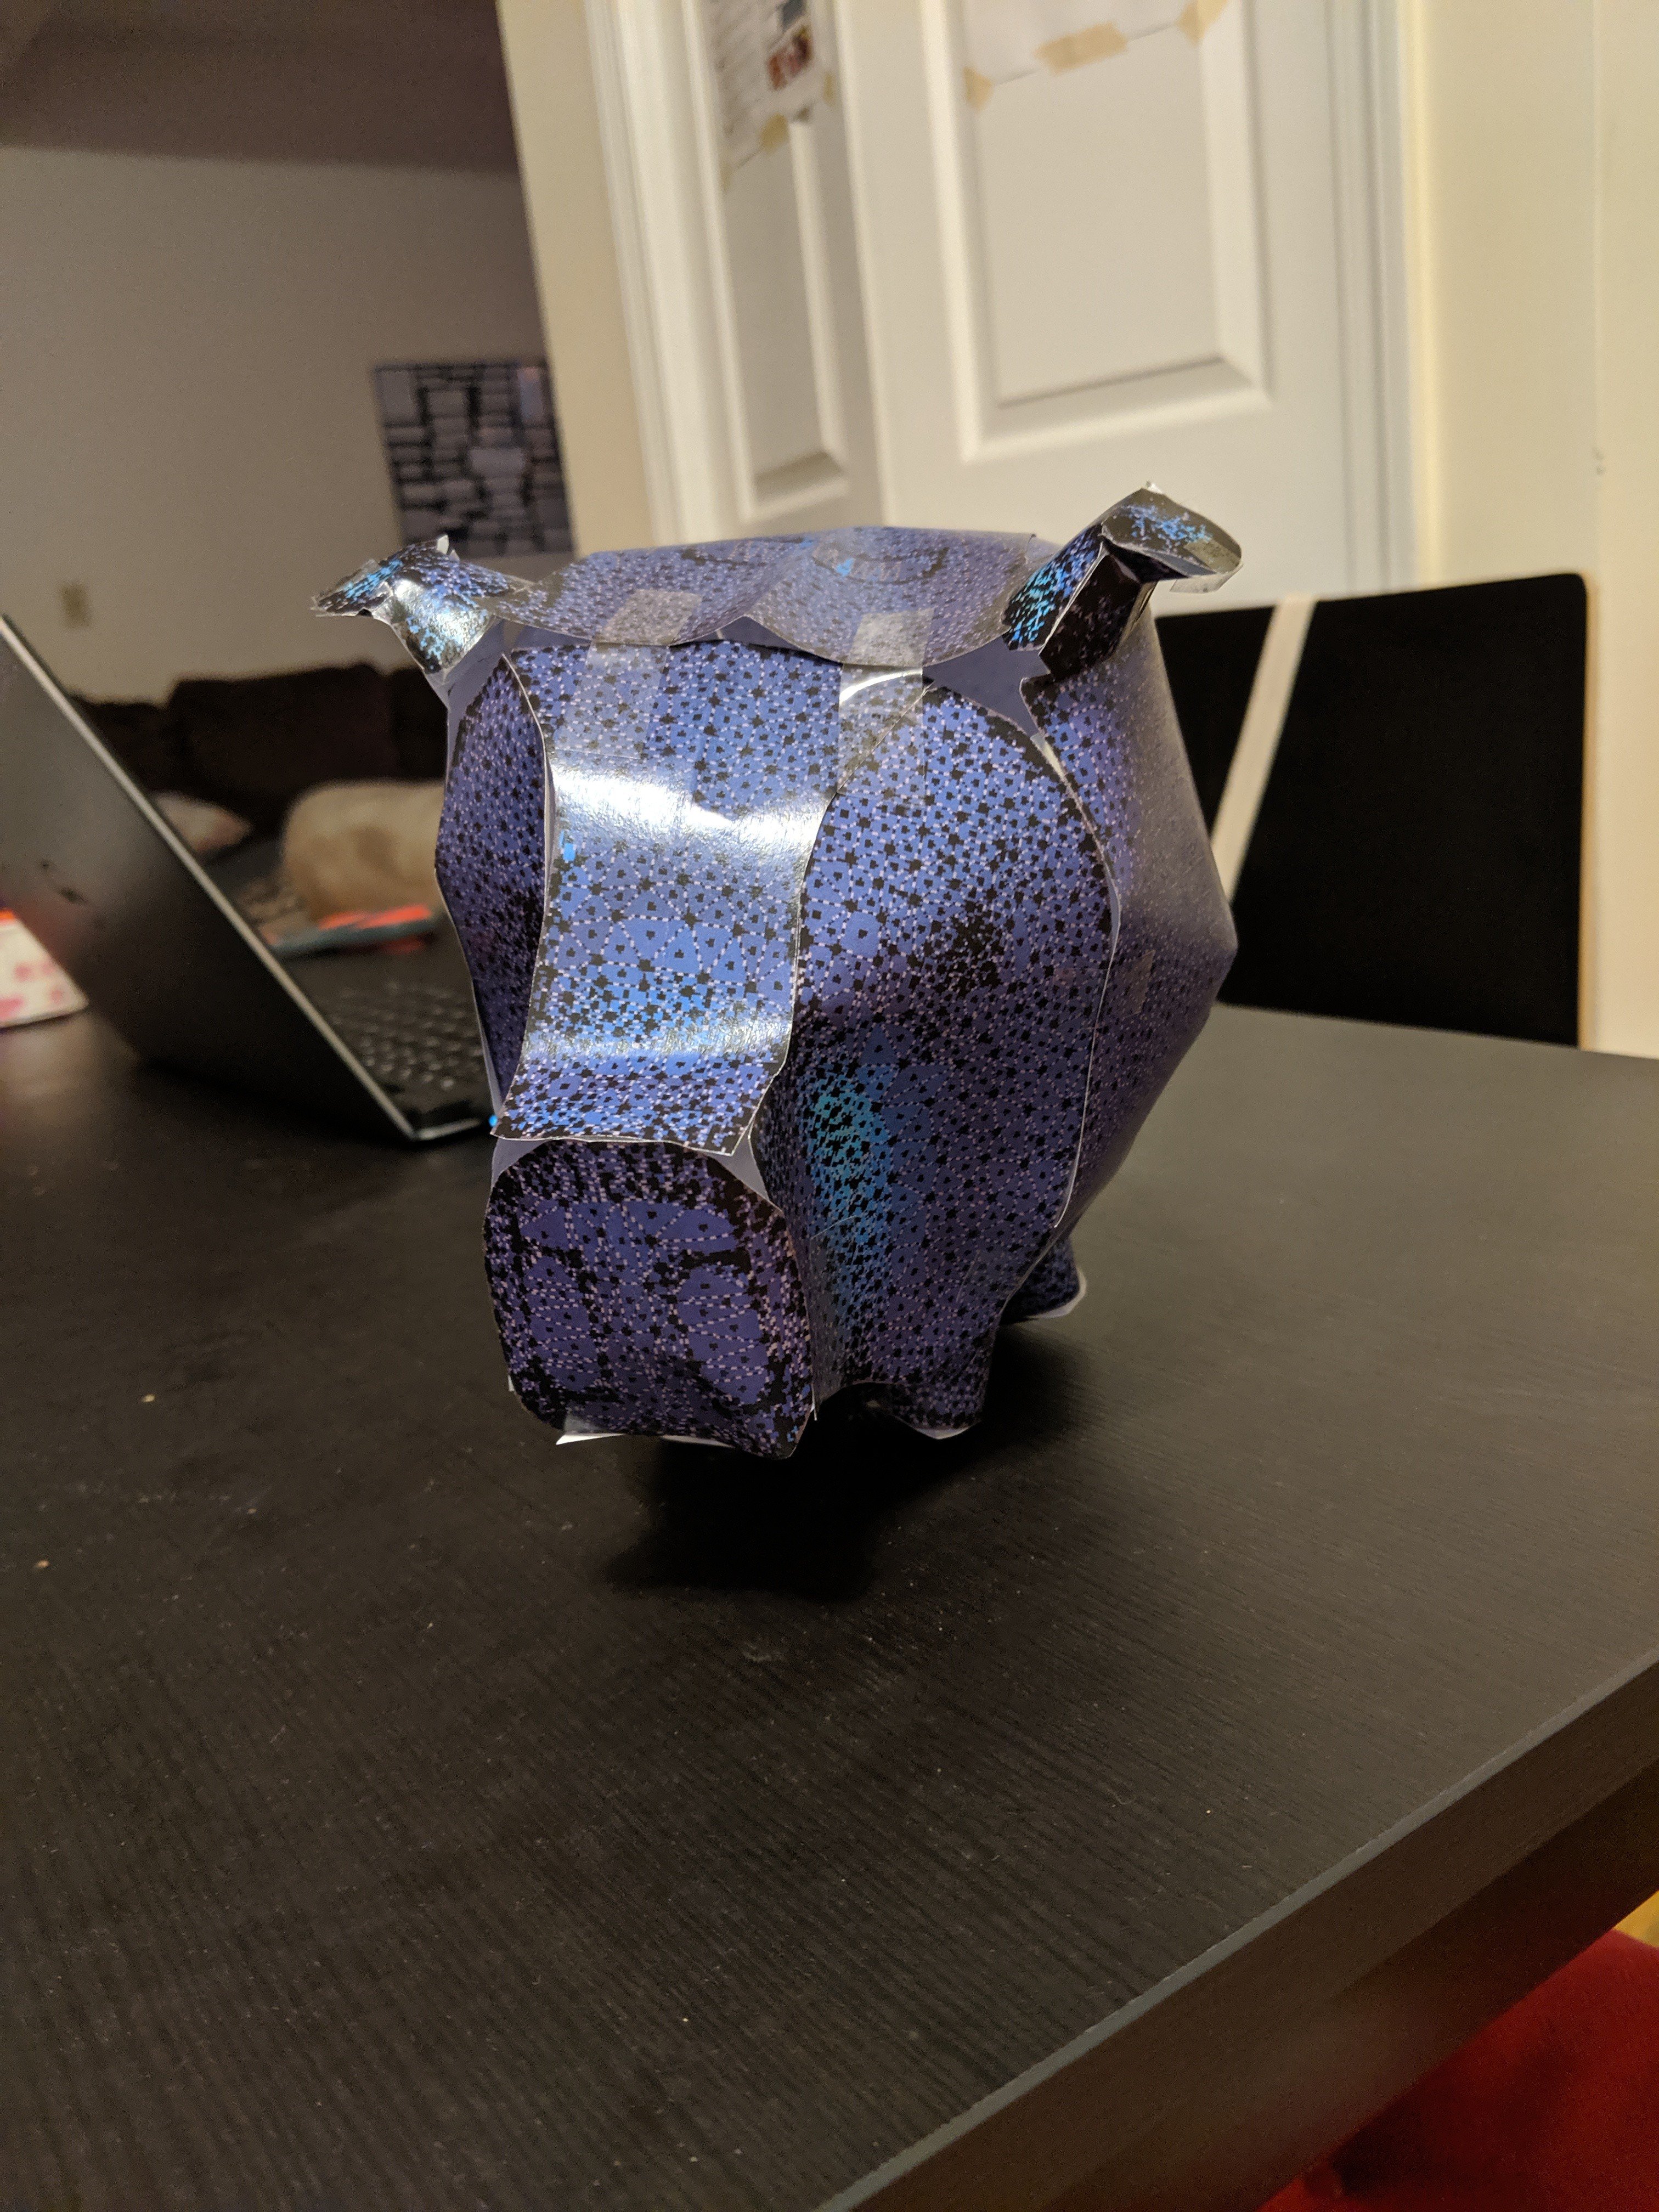
“Medium” sized pig
I intended to make a paper model (as a quick test before sewing the full thing) that was ~12" tall, but somewhere in my mental math or image scaling I messed up and it came out more like 6“. This was clearly a small pig. I figured 3 times that big (on each axis, 27x volume) would be a good size for a huggable stuffed animal. I couldn’t call it”big" because it wasn’t big, it was the right size. Jade helpfully provided the definitions “small: fits in your hand”, “big: bigger than you”, and “medium: in between those things”. Thus “medium” sized pig.
Everyone seems to assume that since I made a small pig and then a medium pig, there will clearly be a big pig next. I have made no comment on the topic, besides promising my housemates that such a pig would fit in the living room. Barely.
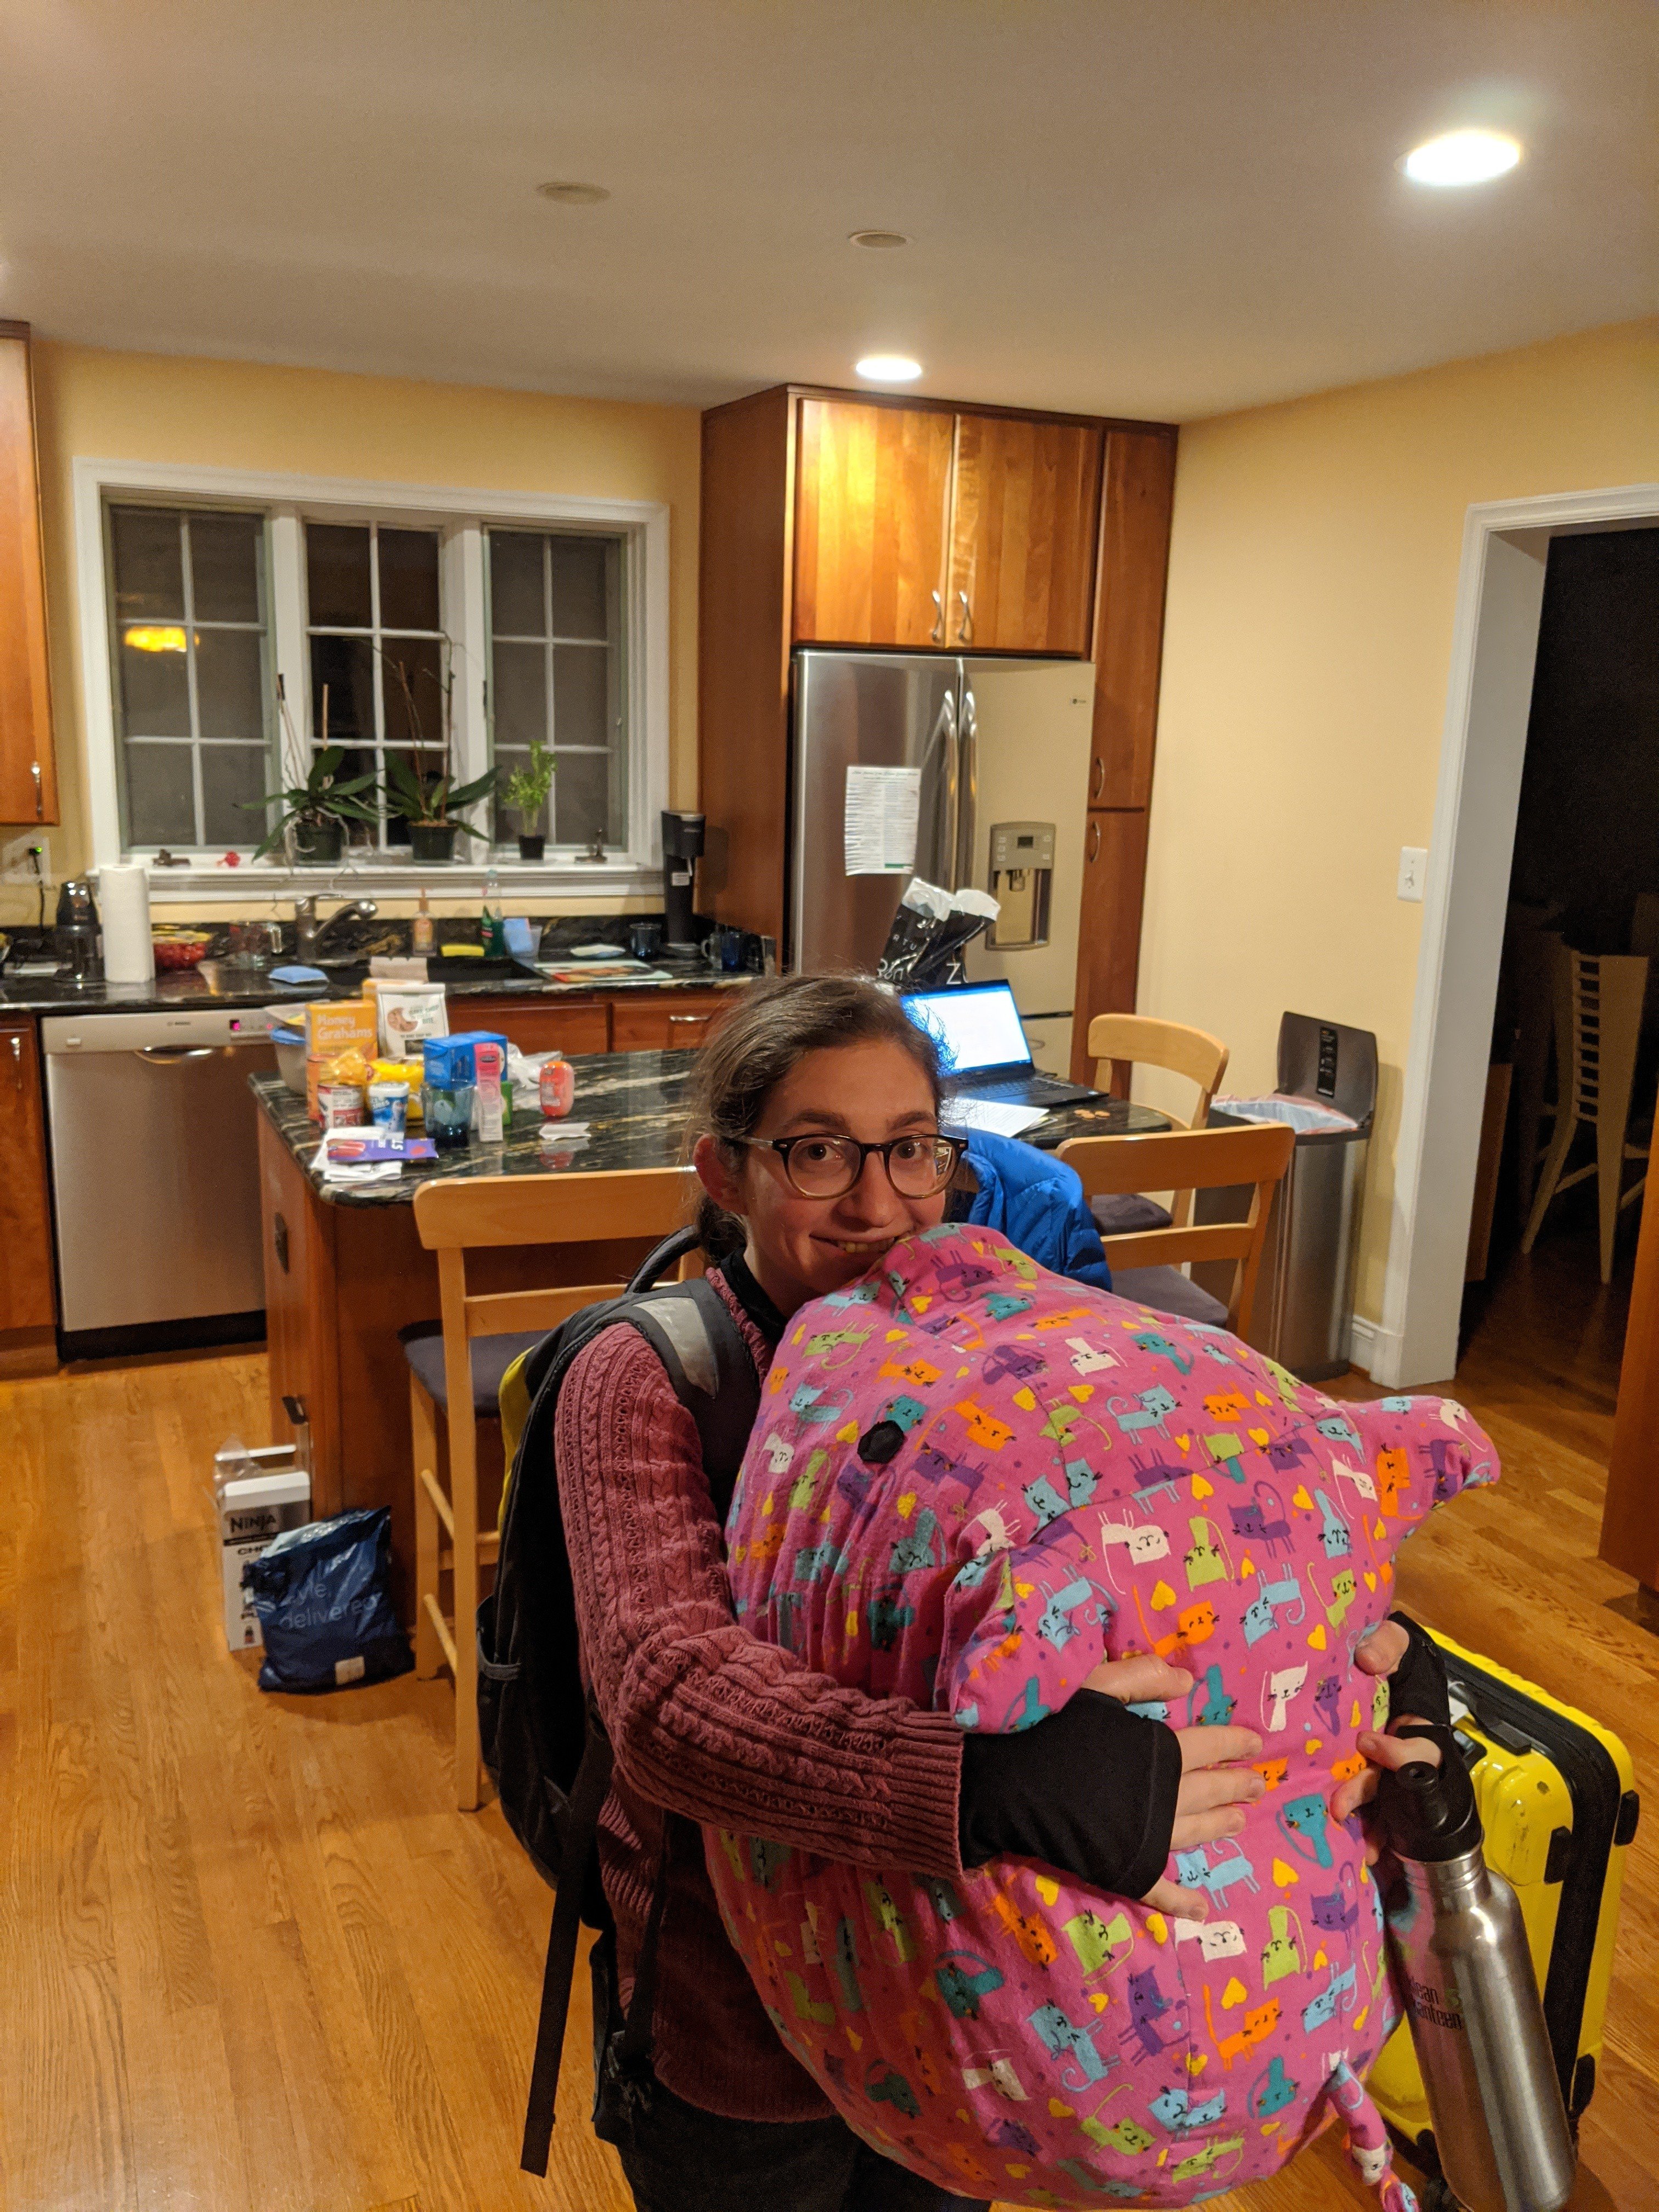
Results
Do any of you reading from the top remember that the whole point was to make a pig for my sister? I declare success. She loves it.